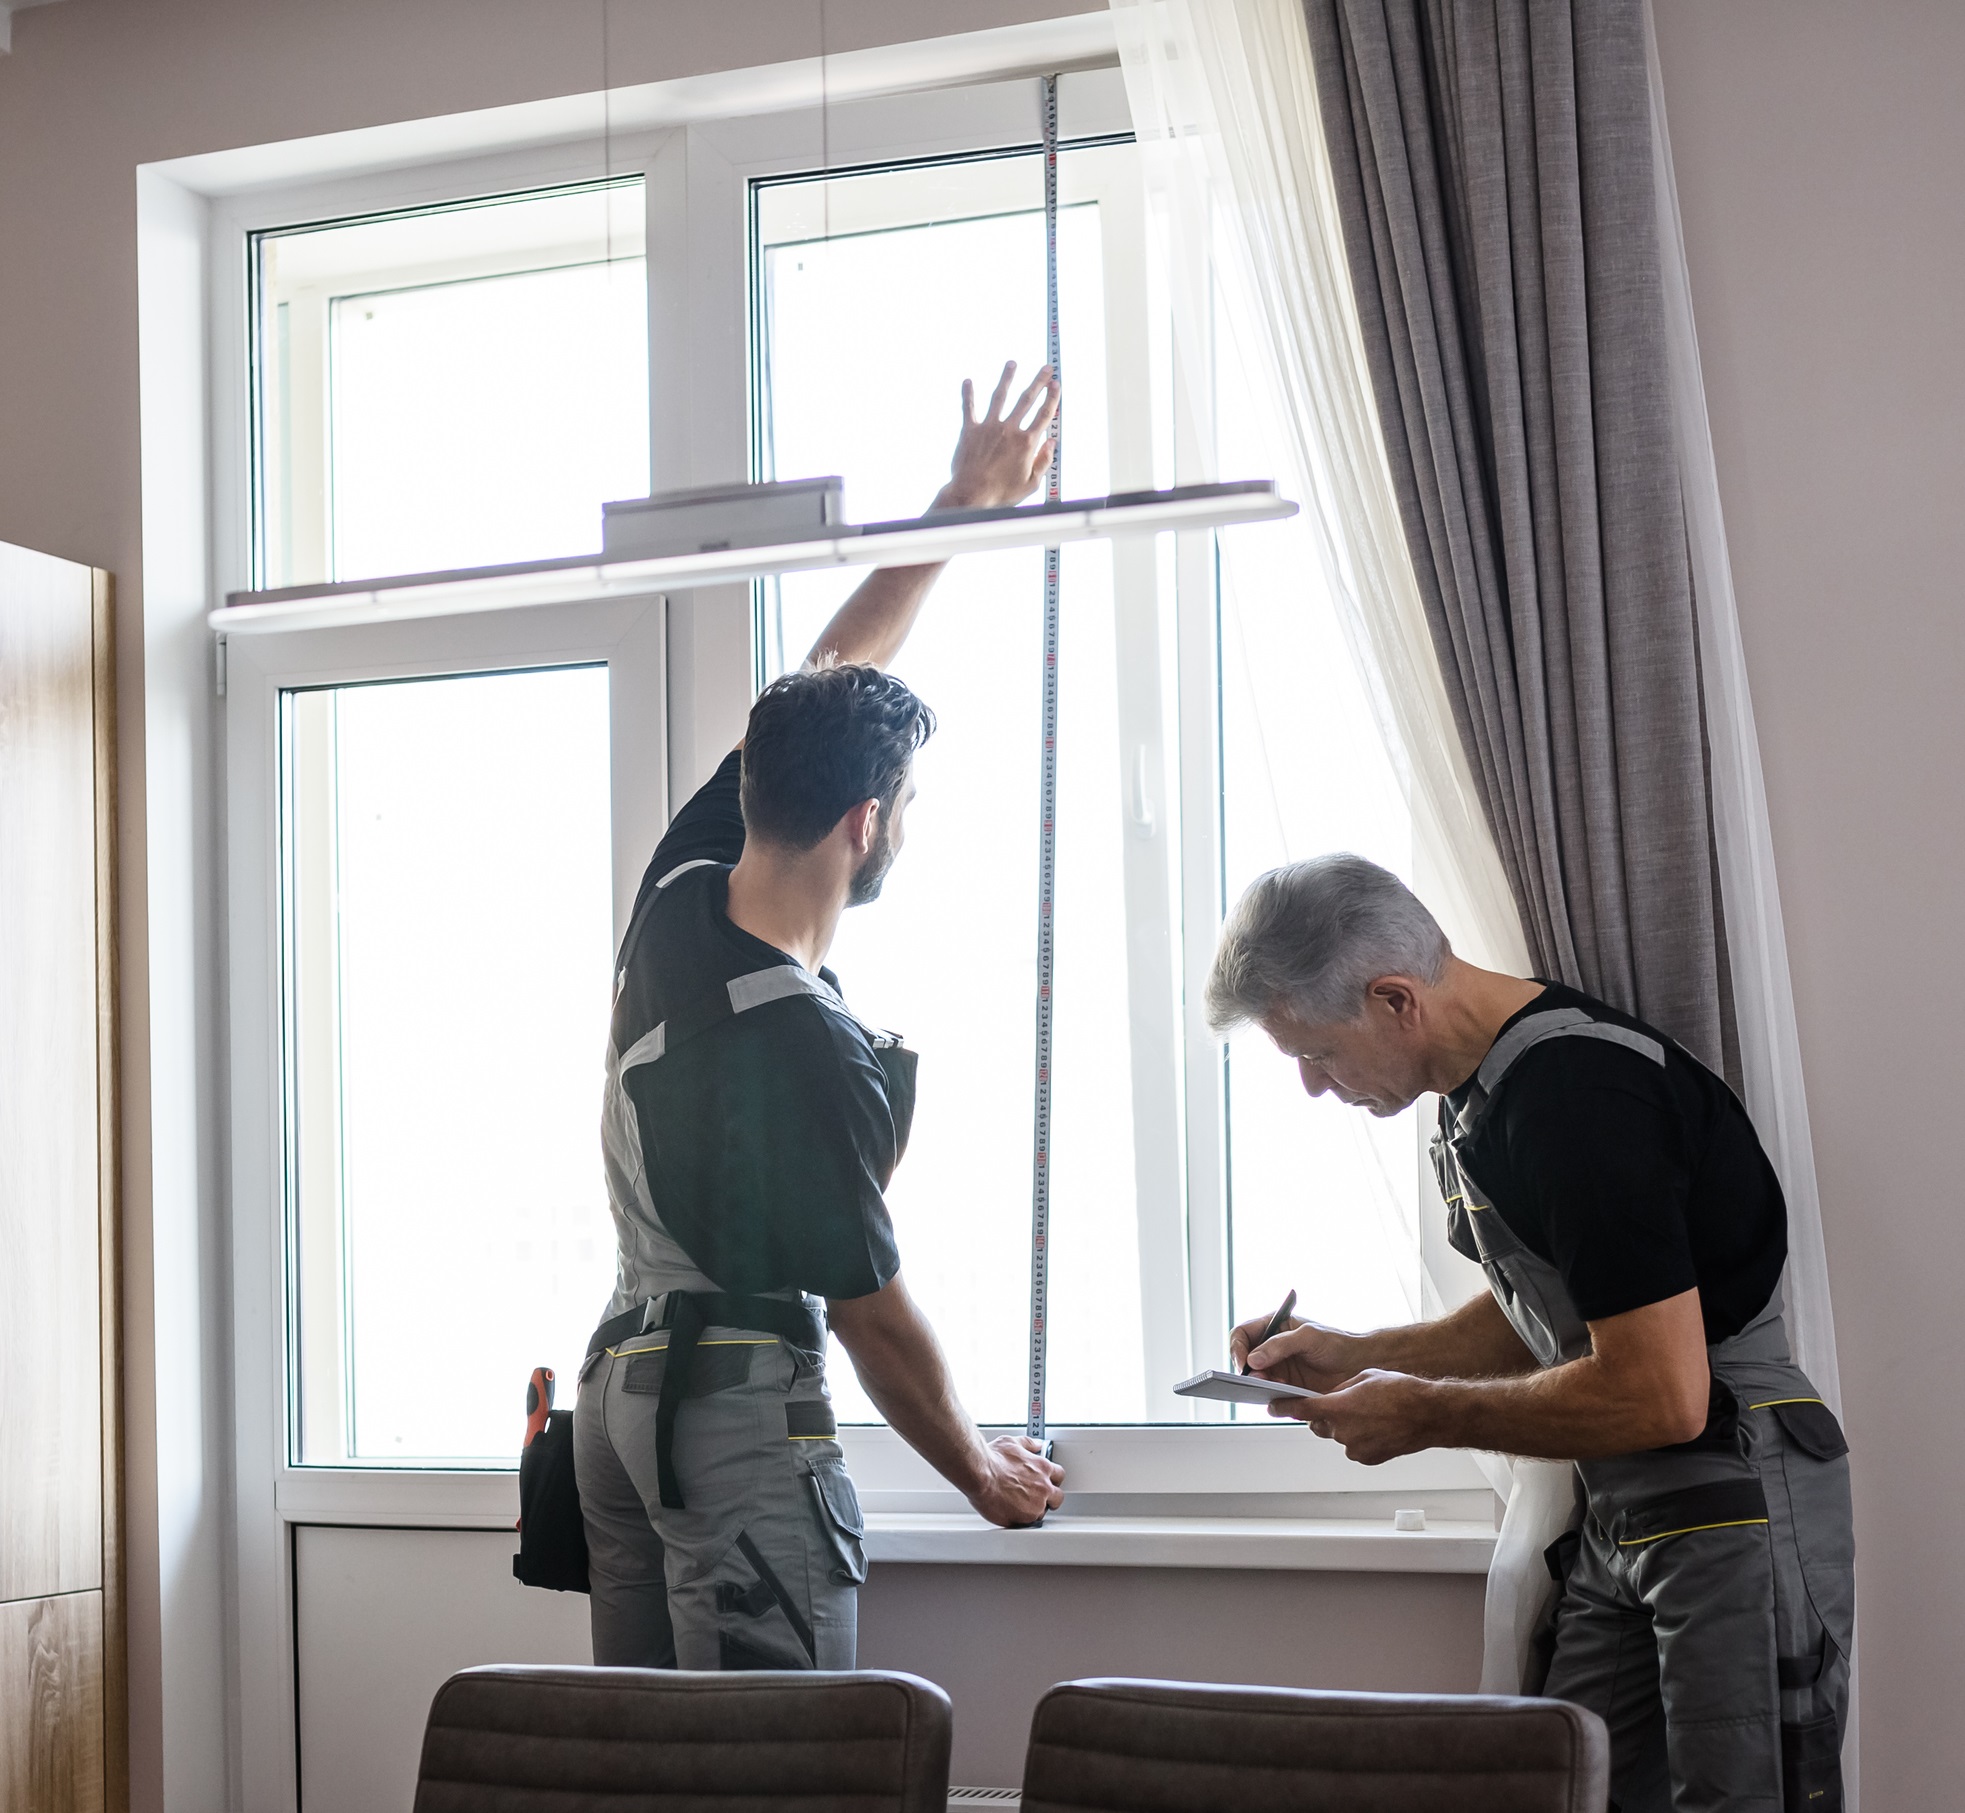
Removing a vertical sliding window from its frame may seem like a daunting task, but with the right guidance and tools, it is achievable. This step-by-step guide aims to simplify the process of how to remove a vertical sliding window from its frame, highlighting key precautions and tips to ensure safe and efficient removal.
Whether you’re a novice or a seasoned homeowner, this guide will assist you in accomplishing the task.
Understanding how to remove a vertical sliding window from its frame is crucial for several reasons. Firstly, it allows for easy maintenance and cleaning of the window, enhancing its longevity and function.
Secondly, it’s beneficial during emergencies, as it can provide a quick and safe exit route. Lastly, this knowledge is instrumental when you need to replace a damaged or outdated window, aiding in home improvements without the need for professional assistance.
The skills required for this task are practical, and valuable, and can provide significant savings in terms of time and money.
Necessary Tools and Safety Equipment
Here’s a list of the tools and safety equipment you’ll need to remove a vertical sliding window from its frame:
- Screwdriver: A basic flathead or Phillips screwdriver will be used to unscrew any fasteners holding the window in place.
- Pry Bar: This tool will be used to gently pry the window out of its frame.
- Utility Knife: To cut through any paint or caulk that is sealing the window to the frame.
- Gloves: Thick gloves will protect your hands from sharp edges and any broken glass.
- Safety Glasses: Always protect your eyes when dealing with glass. Safety glasses will provide the necessary protection against any accidental shards.
- Tarp or Drop Cloth: To catch any debris or broken glass, helping to keep your work area clean.
Preparation Steps
Cleaning the Window Area
Before commencing the task of removing the window, ensure that the area around the window is clean and free of any obstructions. Remove any drapes or blinds, and clear the window sill of any items.
This not only prevents damage to your belongings but also provides a safer working environment. Sweep or vacuum the area to remove dust or debris that could potentially interfere with the removal process.
It’s important to have a clear, clean space to work in.
Safety Precautions
Safety should always be the priority when undertaking any DIY project, especially when dealing with glass windows. Always wear protective gloves and safety glasses to shield yourself from potential harm.
Ensure that your work area is well-lit and ventilated. Be mindful when handling the glass and tools, and make sure to keep them out of reach of children. Lastly, be patient and take your time. Rushing can lead to accidents, so work methodically and deliberately.
Procedure
1. Raising the Lower Sash
The first step in the procedure to remove a vertical sliding window is raising the lower sash. To do this, unlock the window if it is locked. The lock is usually found in the middle of the window, between the two sashes, and can be simple to unlock with a flick or a twist.
Once unlocked, place your hands on the bottom sash. Your left hand should be on the left side of the window and your right hand on the right side. Now, slowly and steadily lift the sash upwards.
Raise it as far as it can go. Some windows might have sash stops, small devices that prevent the window from being opened beyond a certain point for safety reasons.
If your window has these devices, you may need to either remove them or adjust them to allow the sash to be raised fully.
Remember to lift with your knees, not your back, to avoid injury. If the sash is stuck, try wiggling it gently back and forth as you lift, but avoid using excessive force which might break the glass or damage the frame.
If you’re still having trouble, you may need to cut through any paint or caulk that’s sealing the window shut using your utility knife.
Once the lower sash is completely raised, it will expose the sash cords or springs, which you’ll need to disconnect in the next step of the process.
2. Removing the Lower Sash
After raising the lower sash, the next step is to remove it from the window frame. Start by locating the sash cords or springs that were exposed when you raised the sash. These are typically found on the sides of the window and are what allow the sash to move up and down smoothly.
To disconnect them, you’ll need to carefully pry the stop bead or parting bead, which is the molding that holds the sash in place. Use your utility knife to gently cut through any paint or sealant that might be holding it, then use your pry bar to carefully remove it.
Once the beads are removed, you can disconnect the sash cords or springs. If your window has sash cords, carefully cut them with your utility knife. If it has spring balances, you’ll need to unlock them.
This can usually be done by finding the locking terminal, usually a small slot or hole, and inserting a flat-head screwdriver to release the tension.
After disconnecting the cords or springs, you should be able to remove the lower sash by carefully pulling it towards you.
Be sure to hold it firmly to avoid dropping it, which could result in broken glass or damage to the sash. If the sash is still stuck, check for any remaining sealant or paint that might be holding it, and use your utility knife to cut through it.
Once the lower sash is removed, place it on your clean, soft cloth or mat to protect it from damage. Remember, proper handling of the sash and glass is essential to avoid injury.
3. Lowering the Upper Sash
Once the lower sash is safely removed, it’s time to lower the upper sash. This may prove slightly more difficult, as the upper sash is often painted or sealed shut. If your upper sash is stuck, use your utility knife to cut through the paint or sealant along the seams of the window frame.
Start by gently reaching up and grabbing the sash handle or lift, if one is present, and attempt to push the window down. If it doesn’t move, don’t force it. Instead, take your pry bar and carefully slide it under the sash.
Apply gentle upward pressure to try to break any seal that may be holding the sash in place.
After breaking the seal, you should be able to lower the sash with relative ease. As with the lower sash, be mindful of the sash cords or springs that allow the sash to move smoothly up and down.
If your window is equipped with cords, they will likely become visible as you lower the sash. If your window uses spring balances, you may need to unlock them using a flat-head screwdriver inserted into the locking terminal.
When the upper sash is fully lowered, you can begin the removal process, similar to how you removed the lower sash. Again, remember to handle the sash and glass with care to avoid injury or damage to the window.
4. Removing the Upper Sash
With the upper sash now fully lowered, the first step in the removal process is to locate the sash cords or springs on either side of the window frame, which were likely exposed when the sash was lowered.
If your window has sash cords, you’ll want to cut these with a utility knife. If your window uses spring balances, you’ll need a flat-head screwdriver to disengage them. Insert the screwdriver into the locking terminal and turn it to release the balance.
After the sash cords or springs are disengaged, you should be able to gently lift the upper sash out of the window frame. To do this, stand directly in front of the window and grip the sash on both sides.
Lift it upwards until it clears the top of the window frame, and then tilt the bottom of the sash inward. This should allow you to completely remove the upper sash from the frame.
Take extra caution when handling the glass and sash to prevent damage or personal injury. Once removed, place the upper sash on a soft cloth or mat, similar to what you did with the lower sash, to ensure it does not get damaged.
Double-check the sash and the remaining window frame for any remaining cords or hardware, and remove these as necessary. Now, your vertical sliding window frame is free, and you can proceed with your window project.
Related Topics:
Tips and Tricks
Ensuring Smooth Removal
Executing a smooth removal of the vertical sliding window demands attention to detail and patience. Always make sure to release the sash cords or springs carefully to avoid causing any damage to the window frame.
Wearing gloves can provide extra grip and protection while using the correct tools can streamline the process. Moreover, remember to handle the sash and glass with utmost care to prevent any personal injury or damage to the window.
Handling Common Issues
During the removal process, you might encounter some common issues, such as stuck or jammed sashes, broken sash cords, or challenging spring balances. Having a basic understanding of how your window operates can be beneficial in troubleshooting these problems.
Lubricating the tracks or replacing old cords can often resolve the issue. If all else fails, consulting with a professional may be the best course of action to ensure your window removal project proceeds without further complications.
Conclusion
In conclusion, removing a vertical sliding window from its frame, while complex, doesn’t have to be an intimidating task. With the right tools, safety measures, and a clear understanding of the window mechanism, you can efficiently accomplish this task.
Always remember to handle the sash and glass with care, be patient, and pay attention to detail. Overcoming common issues such as jammed sashes, broken sash cords, or challenging spring balances is simpler when you have a basic understanding of the window’s operation.
Ultimately, this guide aims to empower you to take on your window projects with confidence and ease, leading to potential cost and time savings.
FAQs
What tools do I need to remove a vertical sliding window from its frame?
The primary tools you will need include a flat pry bar, utility knife, and safety gloves. You might also need a screwdriver, depending on your window’s construction. Always make sure to wear safety gloves to prevent any injury.
My window sash is stuck and won’t slide up or down. What can I do to fix it?
This issue is often caused by dirt or debris build-up in the tracks or a malfunctioning spring balance. First, try cleaning the tracks thoroughly and lubricating them with a silicone-based lubricant. If this doesn’t work, the problem might be a broken or stuck spring balance, which might need to be replaced or adjusted. If you’re not comfortable doing this yourself, it would be best to consult a professional.
1 thought on “How To Remove Vertical Sliding Window From Frame”