Wooden windows add a touch of elegance and warmth to any home. However, keeping them clean and well-maintained can be a challenging task. This guide will provide you with step-by-step instructions to clean wooden windows effectively and safely, enabling you to preserve their beauty and extend their lifespan.
1. Gather Materials
- Bucket of soapy water
- Soft-bristled brush
- Sponge
- Dry cloth
- Vacuum cleaner
- Window cleaner
- Lint-free cloth
2. Preparation
Remove Any Curtains or Blinds

Before you begin cleaning the wooden windows, it’s crucial to clear the area, which includes removing any curtains or blinds. Carefully take down your curtains or blinds to avoid any damage and set them aside.
This will not only prevent them from getting wet or dirty during the cleaning process, but it will also give you unobstructed access to the windows, making your cleaning task a lot easier.
Vacuum the Window Sill and Remove Loose Dirt
After removing any curtains or blinds, the next step in cleaning wooden windows is to deal with loose dirt or dust that may have accumulated on the window sill. For this, we will use a vacuum cleaner.
Start by attaching the brush nozzle to your vacuum cleaner. Gently run the brush over the window sill, focusing on the corners and crevices where dust and dirt tend to gather.
This step helps in removing loose dirt and dust particles that might scratch the window surface during the cleaning process. Make sure to vacuum the inside track of the window as well to remove any pesky dirt or bugs that might have found their way in.
3. Cleaning the Frame
After you’ve prepared the windows and removed loose debris, you’re ready to tackle the wooden window frame.
Dampen Your Soft-Bristled Brush With Soapy Water
First, dampen your soft-bristled brush with the warm, soapy water from your bucket. It’s best to use mild soap to avoid damaging the wood. Remember, the brush should be damp, not soaking wet, to avoid excess water trickling down the frame and potentially damaging the wood.
Gently Scrub the Frame
Next, scrub the wooden window frame gently with a damp brush. Pay close attention to the corners and crevices, which can often accumulate grime and dust. Be careful not to apply too much pressure as this can scratch or damage the wood.
Wipe the Frame with a Sponge
After you’ve loosened the dirt with your brush, use a damp sponge to wipe down the frame. This will help remove any residual dirt or soap.
Dry the Frame
Finally, use a dry cloth to thoroughly dry the wooden frame. It’s important to ensure all moisture is removed to avoid mold, mildew, or water spots. Once the frame is completely dry, it should look clean and restored, showcasing the natural beauty of the wood.
4. Cleaning the Glass

Wet the Glass
Begin the cleaning process by wetting the glass with the warm, soapy water. You can do this by dipping the sponge into the water and then gently wiping the window. This helps to loosen any dirt or particles on the window’s surface.
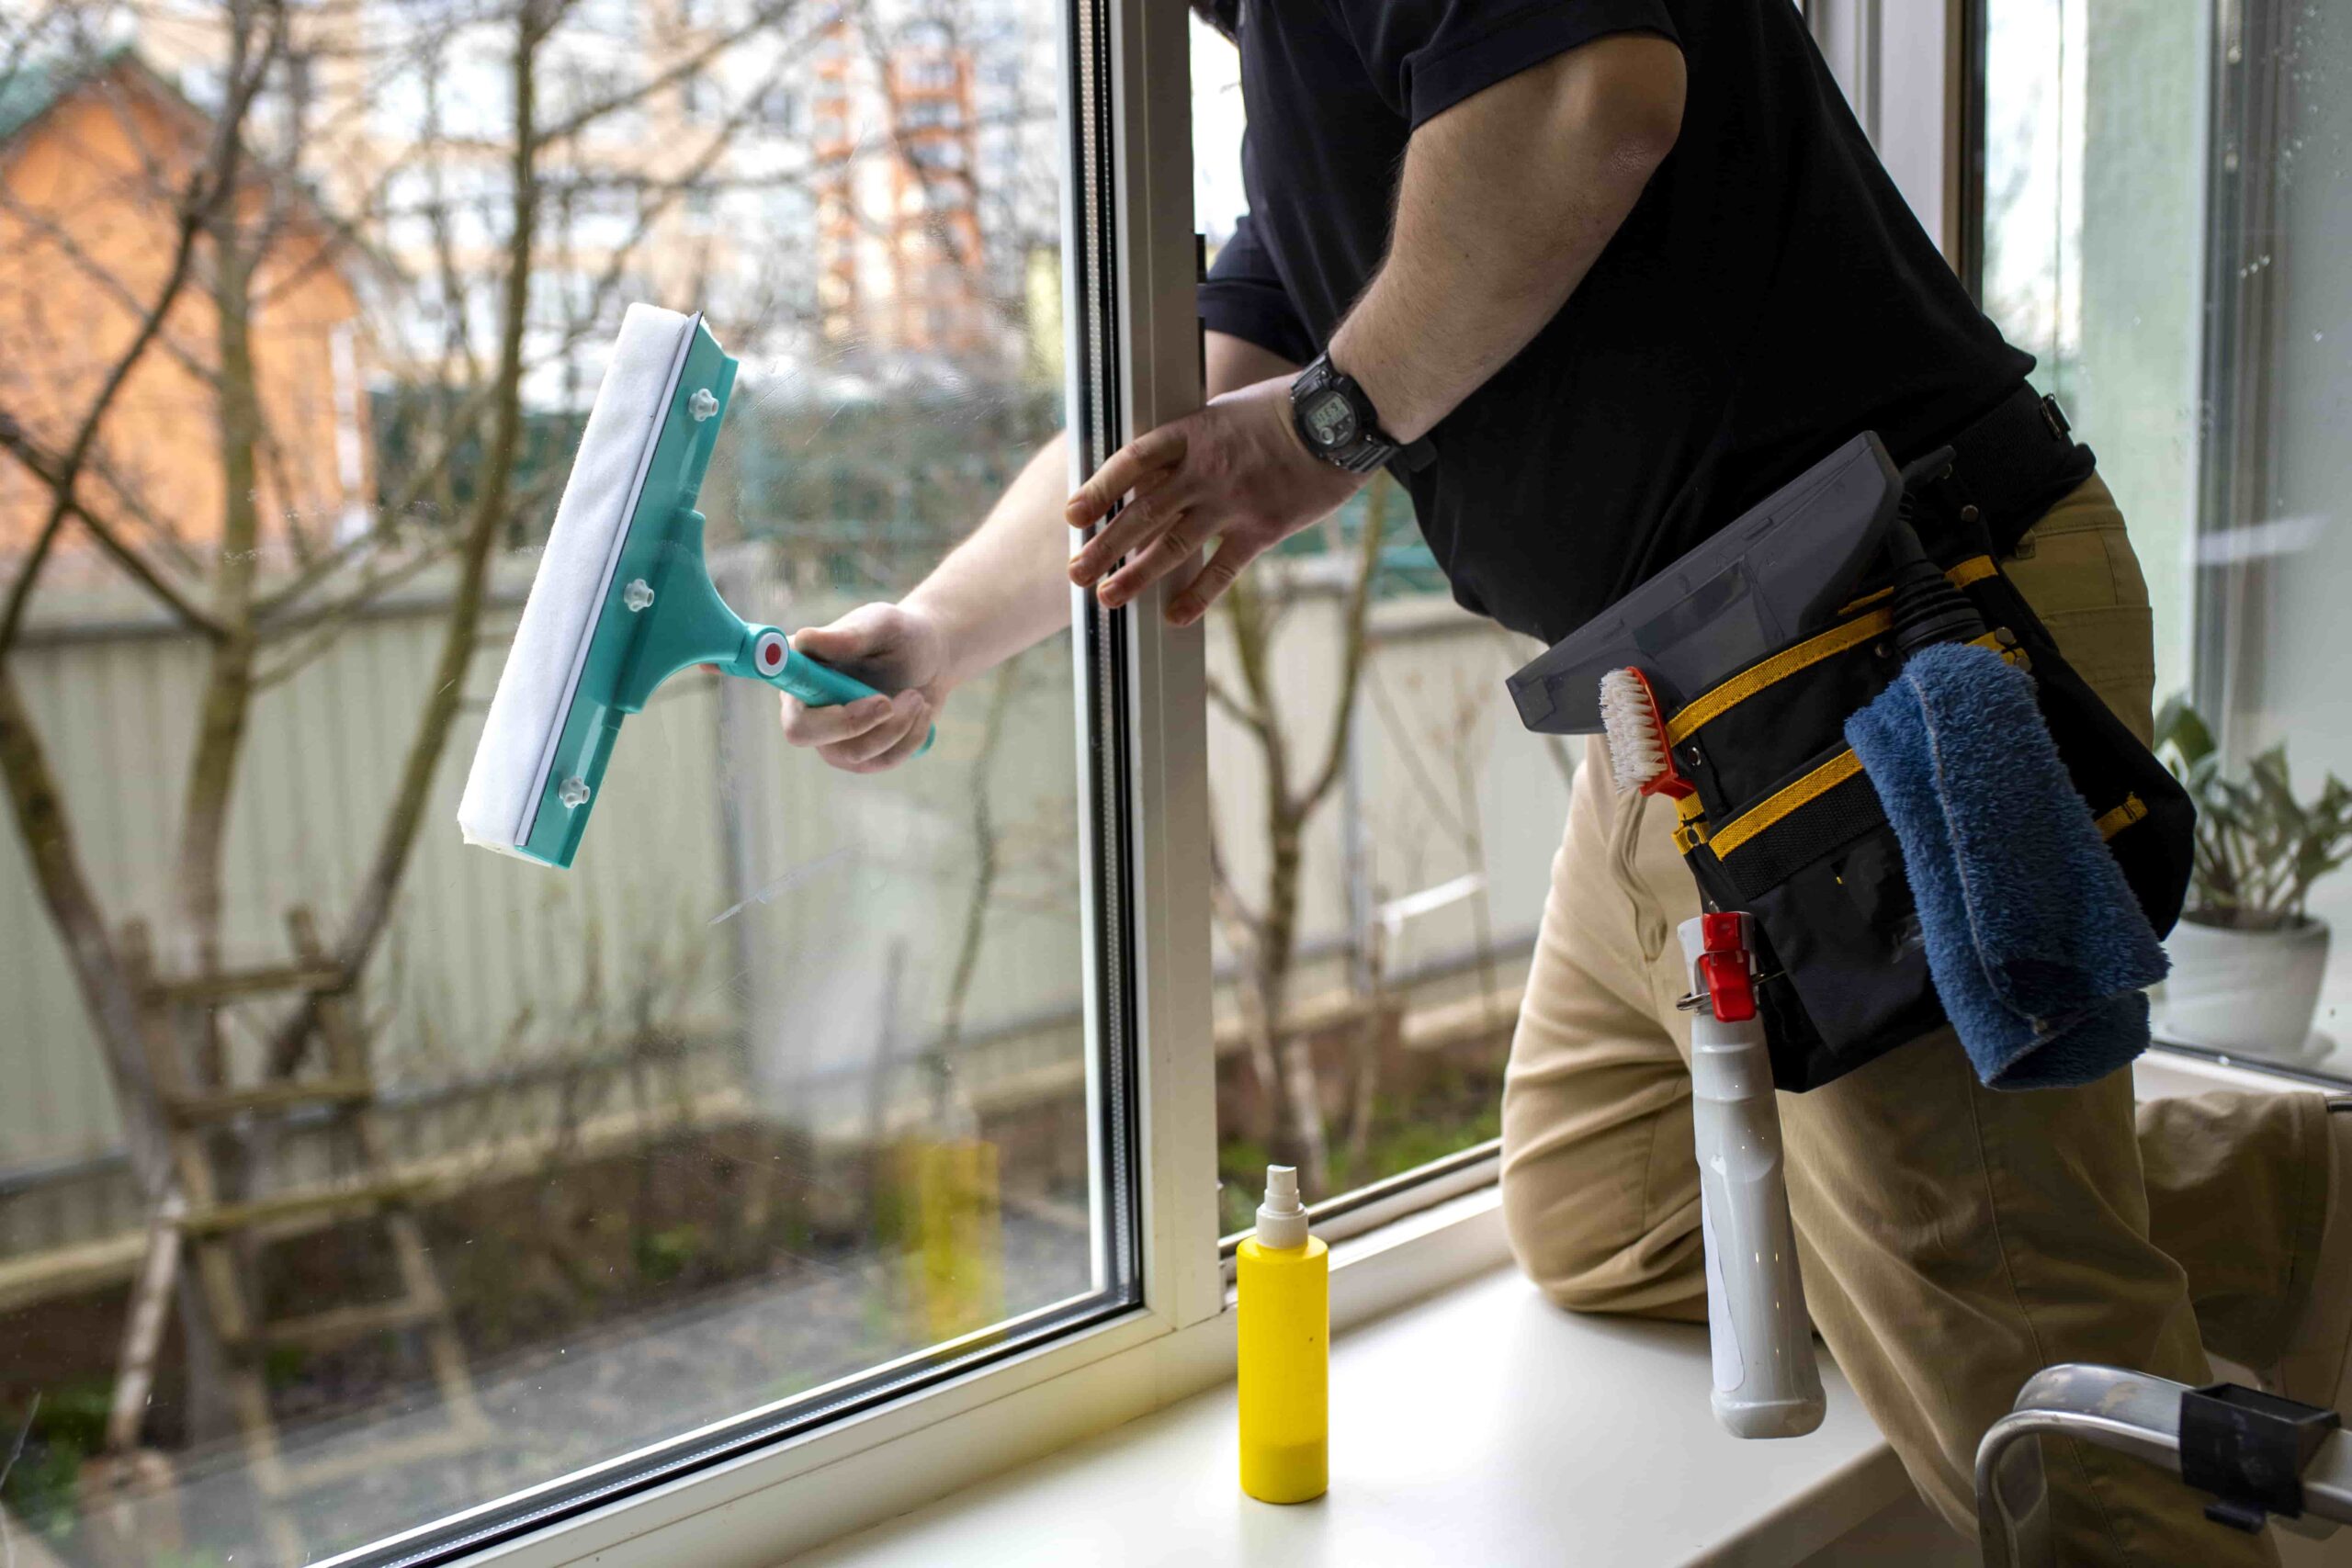
Use the Squeegee or Glass Cleaner Tool
Next, take your squeegee or glass cleaner tool and start at the top of the window, pulling it down in a straight, controlled motion. This not only removes the soapy water but also the dirt that has been loosened.
Remember to wipe the squeegee blade with a dry cloth after each stroke to avoid dragging dirt across the clean parts of the window.
Focus on Corners and Edges
Pay particular attention to the corners and edges of the window, as these areas tend to collect dirt and grime. You may need to repeat the squeegee process a few times in these areas to ensure they’re thoroughly clean.
Dry the Window
Finally, use a dry, lint-free cloth or paper towels to dry the window thoroughly. This is a critical step to prevent streaking and ensure a crystal-clear finish. Make sure to wipe down the window sills as well to remove any residual water that could potentially damage the wood or paint.
5. Drying the Window Frame
After cleaning both the wooden frame and glass, it’s crucial to properly dry all parts of the window. Start by using a clean, dry cloth to carefully wipe down the frame, paying special attention to any nooks or crannies where water might have collected.
Leaving any moisture behind can lead to mold, mildew, or water spots, which could damage the wood. Once the frame is thoroughly dry, use a squeegee or a dry, lint-free cloth to dry the glass.
This helps to prevent streaks and ensures a beautiful, clear finish. It’s also wise to wipe down the window sill to remove any remaining water. Proper drying not only achieves a polished appearance but also maintains the longevity of your window.
Related Topics:
Routine Maintenance for Longevity
Routine maintenance is essential to ensure the longevity and optimal functioning of your windows. The frequency of maintenance may vary depending on the material of the window and the local climate, but a general rule of thumb is to perform a comprehensive check at least twice a year.
Inspect for Damage Regularly
Begin by inspecting the window frames and sills for signs of wear and tear, such as chipping, peeling, or cracking paint. Check for any signs of rot in wooden windows, which could indicate a water infiltration problem.
Clean the Tracks
Window tracks can accumulate dust, dirt, and grime over time, which can impede the smooth operation of the window. Use a small brush to loosen the dirt, then vacuum it up. Wipe the tracks with a damp cloth to remove any remaining dust.
Weatherstripping
Check the weatherstripping around your windows to ensure it is still functioning effectively. Weatherstripping plays an essential role in preventing drafts and maintaining energy efficiency. Replace it if it’s broken or worn out.
Re-caulk If Necessary
Caulking around your windows helps seal them from water and air leaks. Over time, caulk can harden and lose its effectiveness. If you notice any hard or cracked caulking, remove the old material, clean the area, and apply new caulk.
Lubricate the Hardware
Lastly, don’t forget about the window’s hardware. Locks and hinges should be lubricated regularly to ensure they continue to operate smoothly. Use a silicone-based lubricant, spray lightly, and then move the hardware back and forth to distribute the lubricant. Wipe away any excess with a dry cloth.
Tips and Warnings
When it comes to window maintenance, it’s crucial to remember safety first. If your window is located in a high place, make sure to use a sturdy ladder and have someone assist you. Never attempt to force a window open or closed as it could shatter, causing injury.
It’s also important to note that some tasks may require professional help. If you encounter problems like a broken windowpane or a window that won’t open or close properly despite your best efforts, it may be time to call in a professional.
Conclusion
In conclusion, window maintenance is an essential yet often overlooked aspect of home upkeep. Keeping your windows clean and in good working order not only improves your home’s overall appearance but also ensures its energy efficiency and safety.
Regular inspection, cleaning, and proper care of the hardware will help prevent bigger, more costly issues down the line. However, remember that it’s okay to seek professional help for tasks that are beyond your ability or for problems that persist despite your best efforts.
With consistent care and attention to detail, your windows can serve you effectively for many years to come.
FAQs
How often should I clean my windows?
It’s recommended to clean your windows at least twice a year, ideally in the spring and fall. However, you may need more frequent cleaning if your home is located near busy roads or construction sites.
Can I use any cleaner for my windowpanes?
Some cleaners may contain harsh chemicals that could damage your windowpanes, so it’s best to use a mild, non-abrasive cleaner specifically designed for windows. Alternatively, you can make your own cleaning solution using equal parts white vinegar and water.
How do I know if my window needs new weatherstripping?
If you feel drafts or notice leaks around your windows, it’s a sign that your weatherstripping needs to be replaced. You may also see visible wear and tear on the existing weatherstripping.

2 thoughts on “How To Clean Wooden Windows & Routine Maintenance”