Wooden windows give a classic and elegant look to your house, but over time, they can become rotten due to water damage or insect infestation. Repairing wooden windows is essential not only for the aesthetic appeal of your home but also for maintaining its structural integrity. In this guide, we will discuss how to repair rotten wooden windows so that you can restore their beauty and functionality.
1. Identifying the Damage
Before you begin any repairs, it is crucial to thoroughly inspect the window and identify the extent of the damage. Look for areas that are soft to the touch or have holes and discoloration. These are signs of rot caused by water or insect damage. Make sure to check both the exterior and interior of the window as rot can occur on either side.
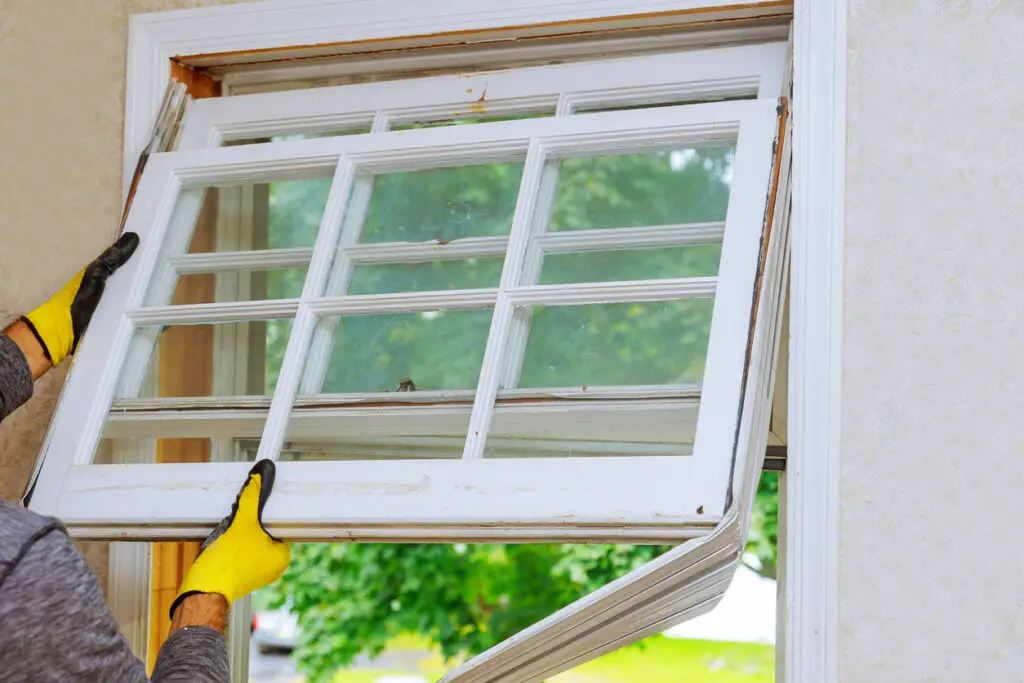
Once you have located the area of rot, assess how severe it is. Minor damage can be easily repaired with some wood filler and paint, but extensive damage may require more drastic measures such as replacing the entire window frame.
2. Gathering Necessary Tools and Materials
- Screwdriver
- Scraper
- Sandpaper
- Epoxy resin
- Wood hardener
- Paintbrush
3. Removing the Rotten Wood
Start by using a screwdriver to gently probe and remove the rotten wood from the window. Be careful not to cause any additional damage to the surrounding healthy wood. For more stubborn areas or for removing wood in tight corners, you may need to use a scraper.
Once you have removed the loose, rotten wood, sand the area thoroughly with sandpaper. This will help smooth the edges and prepare the wood for the filler. Ensure to clean off all the dust and debris using a damp cloth before proceeding to the next step.
4. Applying Wood Hardener
After cleaning off dust and debris from the window frame, it’s time to apply the wood hardener. This step is critical as it strengthens the remaining weak, decayed wood and provides a solid base for the wood filler. To apply the wood hardener, dip a paintbrush into the solution and evenly coat the affected area.
Make sure to saturate the wood well so that the hardener can penetrate deep into the pores. It’s advisable to apply extra hardener around the edges of the decayed area to prevent future rot.
Allow the hardener to dry completely before moving on to the next step. The drying time can vary depending on the product used and the environmental conditions, but typically it should be left to dry for at least 2-4 hours.
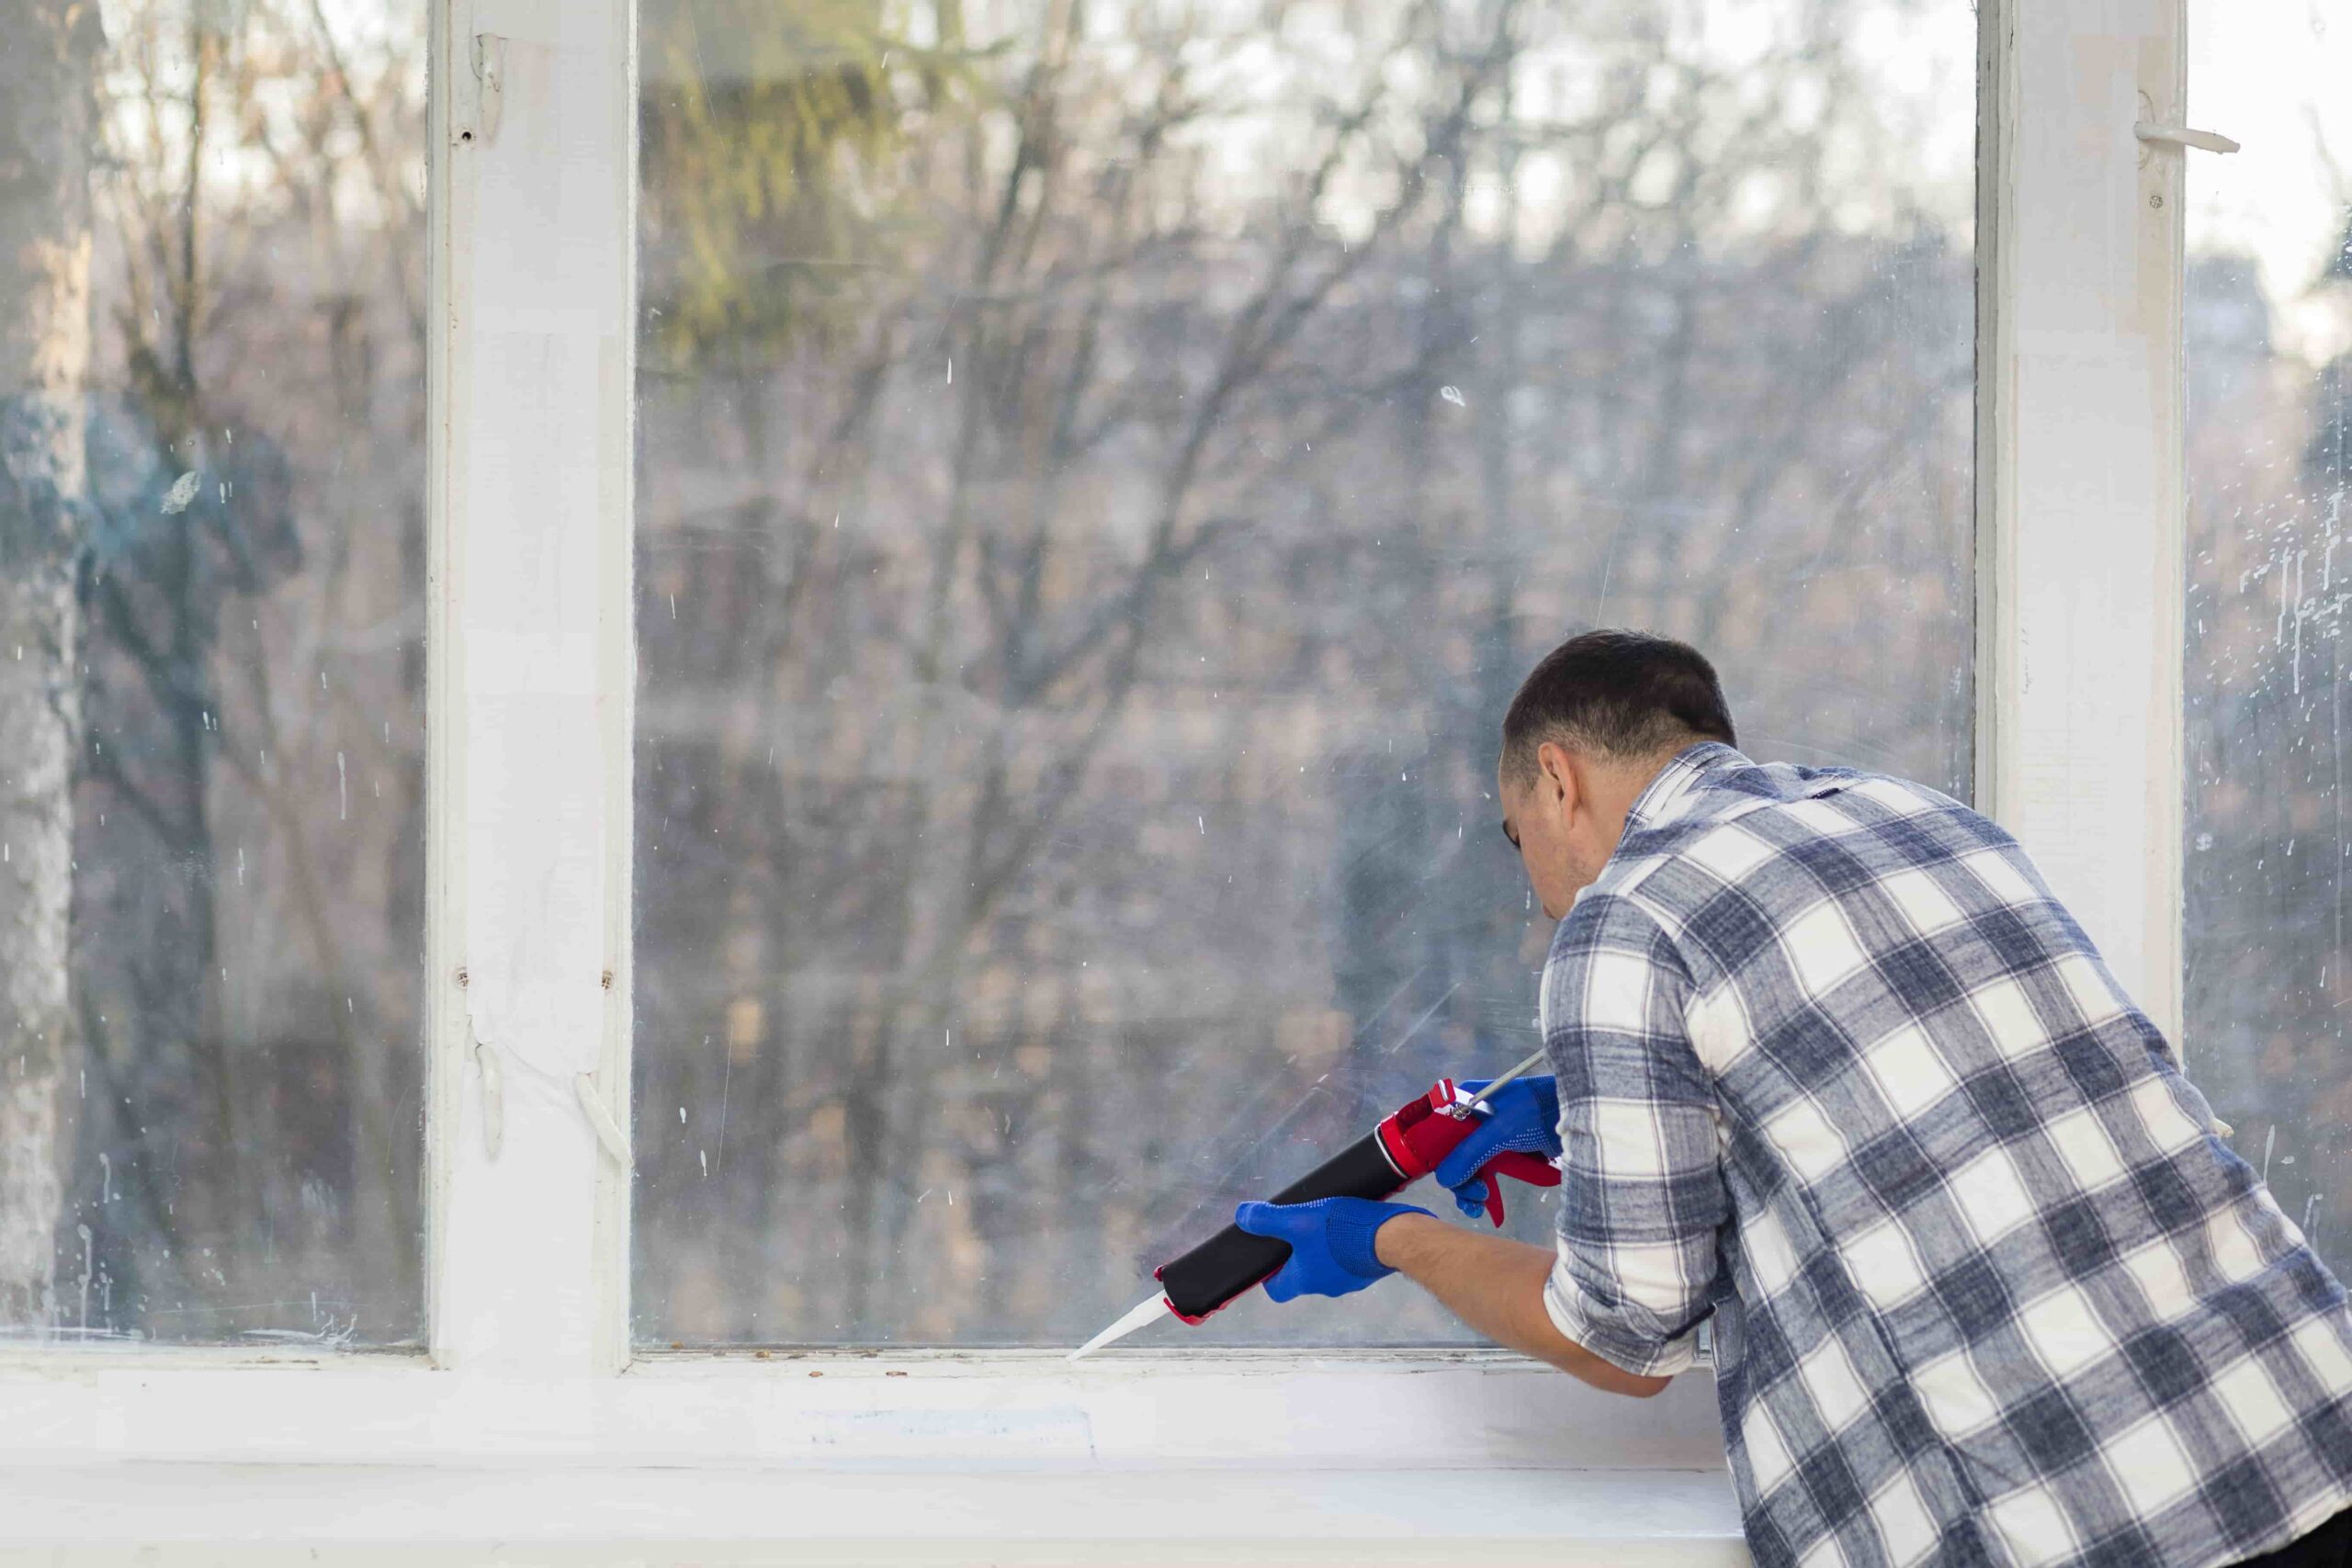
5. Filling in with Epoxy
Once the wood hardener is thoroughly dry, the next step is the application of epoxy resin, which will fill in the areas of the window frame previously occupied by the rotten wood. Start by stirring the epoxy resin in its container to ensure it’s properly mixed. Make sure to follow the manufacturer’s instructions on the packaging for best results.
Using a putty knife, apply the epoxy resin into the areas where the rotten wood was removed. The goal is to fill these areas completely, so apply generous amounts of epoxy resin and make sure it penetrates deep into the wood. However, avoid applying too much so that it creates bulges or uneven surfaces.
After filling, use the flat edge of the putty knife to smooth the epoxy filler, ensuring the filled area matches the rest of the window frame’s surface level. It’s vital to take your time during this process for a better aesthetic outcome.
Epoxy resin sets quickly, usually within 1-2 hours, but it’s best to let it cure overnight for a stronger result. It’s also recommended to avoid any disturbances during the drying process.
Once it’s completely dry, use sandpaper to smooth out the surface one final time. Now, your window frame should be as good as new and free from any signs of rot!
6. Sanding and Refinishing
The final step in the restoration process is sanding and refinishing the window frame, which helps in achieving a smooth finish and restoring the wood’s original luster.
Start with a coarse-grit sandpaper, approximately 80 grit, to smooth out any imperfections on the surface. Use light, even pressure, and always sand in the direction of the wood grain to avoid unwanted scratches and marks.
Be particularly careful while sanding the areas where the epoxy resin was applied to ensure a seamless blend with the rest of the frame.
Once the entire surface is uniformly smooth, switch to finer grit sandpaper, around 120 grit, for further smoothing. This will pave the way for a polished finish and will guarantee the paint or stain adheres adequately.
Cleaning up the dust after sanding is important before moving on to refinishing. A damp cloth or a vacuum can be used to remove the dust particles.
In the refinishing stage, apply a wood primer first to prepare the surface. Once the primer is dry, you can proceed with your chosen paint or stain. Apply it in thin, even layers, taking care not to create drips. Always allow ample drying time between each coat as per the manufacturer’s instructions.
This process not only enhances the aesthetic appeal of your window frame but also adds an extra protective layer, ensuring its longevity.
Remember, refinishing is a creative process, so feel free to experiment with different colors and finishes to match your personal aesthetic or the style of your home. With patience and precision, you can restore your window frame to its original beauty or even give it a new, modern twist.
7. Preventative Measures
Proactive maintenance is crucial to prolong the life of your window frames and prevent damage. Here are some preventative measures to consider:
Regular Cleaning: Regularly clean your windows using a soft cloth and mild detergent. Avoid using harsh chemical cleaners, as they can cause discoloration and degradation of the wood.
Sealing: If your window frames are exposed to direct sunlight or harsh weather conditions, consider applying a sealant. This creates a barrier against moisture and UV rays, preventing warping and fading.
Inspecting: Regular inspections for signs of damage such as warping, cracking, peeling paint, or signs of insect infestation can help catch issues early before they become substantial.
Weather Stripping: Weather stripping can be added around the window frame to prevent drafts and energy loss. This will also prevent moisture from seeping into the wood, which can cause rot and mold.
Regular Painting or Staining: Regularly painting or staining your window frames provides an additional protective layer against the elements. This also gives you the opportunity to keep your frames looking fresh and aesthetically pleasing.
These preventative measures can save you significant time, money, and effort in the long run by keeping your window frames in good condition for years to come. Remember, an ounce of prevention is worth a pound of cure.
Related Topics:
Conclusion
Taking care of your window frames is a vital part of home maintenance that should never be overlooked. While it might seem like a minor detail, proper care, and preventative measures can significantly extend the life and enhance the appearance of your windows.
From regular cleaning and inspections to timely painting or staining, each step contributes to the overall longevity and aesthetic appeal of your window frames. Remember, maintenance is not only about keeping your home looking attractive it’s also about safeguarding your investment and ensuring the structural integrity of your home.
With the right approach and due diligence, your window frames can remain in top condition for many years to come.
FAQs
How often should I clean my window frames?
It is recommended to clean your window frames at least twice a year, but more frequent cleaning may be necessary depending on the climate and environmental factors.
Can I paint or stain my window frames myself?
Yes, you can DIY paint or stain your window frames. However, it is important to properly prepare and prime the frames before painting or staining to ensure proper adhesion and longevity of the finish.
Can I use any type of cleaning solution on my window frames?
It is best to use a gentle cleaning solution specifically designed for window frames. Harsh chemicals or abrasive cleaners can damage or discolor your frames.
1 thought on “How To Repair Rotten Wooden Windows With Preventative Measures”