Windows that have thin slats of glass or acrylic encased in metal frames are referred to as jalousies. These windows often have a crank mechanism on the inside, which, when turned, raises and lowers the entire window.
Here’s how you can replace your existing Jalousie window crank with something new:
What are Jalousie Windows?
Jalousie windows are a type of window that consists of parallel slats of aluminum, glass, or acrylic that open outward to let in air and light. They are typically found in older homes, as they were popular in the 1950s and ’60s but have been replaced by more modern solutions such as casement or double-hung windows.
Although jalousie windows can provide ventilation and an unobstructed view, they are not very energy efficient and can be difficult to operate due to their crank-style handle.
What are Window Cranks?
Window cranks are used to open and close jalousie windows by turning a handle that extends from the side of the window. As you turn the handle, it rotates a gear or cam system inside the frame which in turn opens or closes the slats on the window.
Over time, these components can become worn out which makes them difficult to operate or even break entirely. This is why it may be necessary to replace your Jalousie window crank if it has stopped working properly.
Tools Needed for Replacing the Crank
Before starting work on replacing your Jalousie window crank, make sure you have all the necessary tools. You’ll need either a screwdriver or drill depending on what type of mounting hardware is used, plus an adjustable wrench or socket set for removing the old crank assembly.
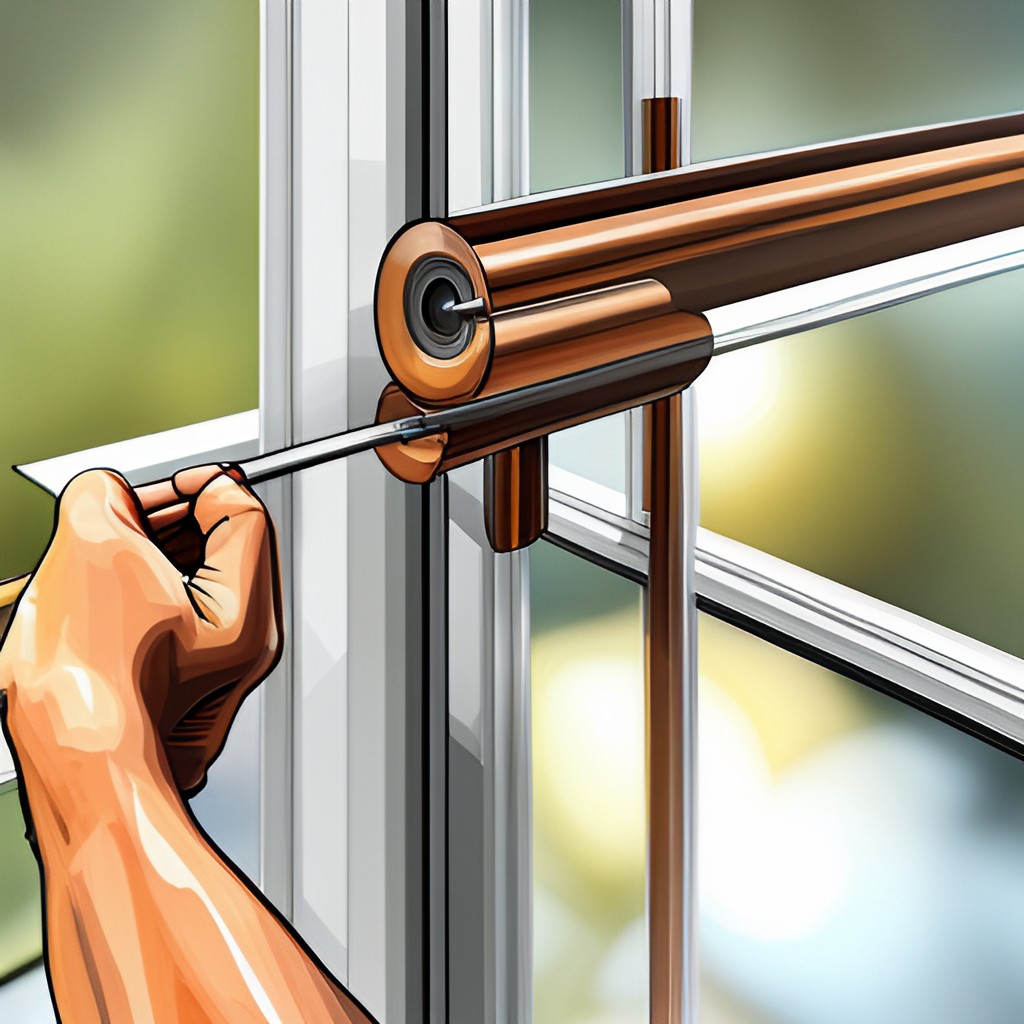
Removing the Existing Crank Assembly
The first step in replacing your Jalousie window crank is to remove the existing hardware. Start by removing any screws or bolts that are holding the assembly in place, then use an adjustable wrench or socket set to loosen and remove the crank arm from its mounting bracket.
Be careful not to damage any of the surrounding components as you work.
Installing New Hardware
Once you’ve removed all of the old hardware, it’s time to install your new Jalousie window crank. Begin by attaching the mounting bracket for the new unit to where you removed the old one from, using either screws or bolts depending on what type of fastener is available.
Then, attach the new crank arm to the bracket and tighten it securely with an adjustable wrench or socket set.
Testing the New Crank Assembly
Finally, you can test your newly installed Jalousie window crank assembly to make sure everything works correctly. Turn the crank handle several times and watch as the window moves up and down.
If everything seems to be functioning properly, you’re all finished! With a few simple steps, you’ve successfully replaced your Jalousie window crank.
Additional Tips
• If you’re having trouble removing the old crank assembly, use a lubricant to help loosen it up.
• Make sure that all of the screws and bolts are securely tightened before testing your new assembly.
• Wear protective gloves when handling any tools or hardware to avoid injury.
• Be sure to consult your owner’s manual for additional instructions on how to replace a jalousie window crank.
• If you’re not comfortable doing the replacement yourself, contact a professional window repair service.
How do you fix a broken window crank?
Fixing a broken window crank depends on the type of window you have. For jalousie windows, start by removing any screws or bolts that are holding the assembly in place.
Then attach the new mounting bracket and crank arm to the same location as the old one. Once everything is secure, test your newly installed Jalousie window crank assembly to make sure it works correctly. If you’re not comfortable doing this yourself, contact a professional window repair service for assistance.
Safety Precaution
When performing any DIY job, make sure to take safety precautions. Wear protective gloves when handling tools and hardware and consult your owner’s manual for additional instructions before starting any project. If you’re having trouble removing the old crank assembly, use a lubricant to help loosen it up.
And make sure that all of the screws and bolts are securely tightened before testing your new assembly.
Related Topics:
Conclusion
Replacing a jalousie window crank is an easy task that anyone can do with just a few tools and some patience. By following the steps outlined here, you should be able to have your new crank assembly installed and working in no time.
With regular maintenance and occasional replacements, your jalousie windows should last for years to come.
FAQs
Q: What tools will I need to replace a Jalousie window crank?
You’ll need a flathead screwdriver, a Phillips head screwdriver, and an adjustable wrench.
Q: How often should I replace my Jalousie window crank?
Depending on usage and wear and tear, you may want to consider replacing your crank assembly every few years. Regular maintenance is recommended for optimal performance.
Q: Is it difficult to replace a Jalousie window crank?
Not at all! With the right tools and some patience, anyone can complete this task with ease. Just make sure to follow the instructions carefully and take all necessary safety precautions.
Q: Are there any other tips I should keep in mind?
Always refer to your owner’s manual for specific instructions, wear protective gloves when handling tools, and use a lubricant if you’re having trouble removing the old crank assembly. Finally, always make sure that all screws and bolts are securely tightened before testing.
How do you replace a casement window crank operator?
The process is similar to replacing a Jalousie window crank. This involves removing the screws from the existing operator, taking out the old assembly, and installing the new one in its place. You’ll also need to secure all bolts and screws before testing for proper operation.
1 thought on “How To Replace Your Jalousie Window Crank | DIY Home Improvement”