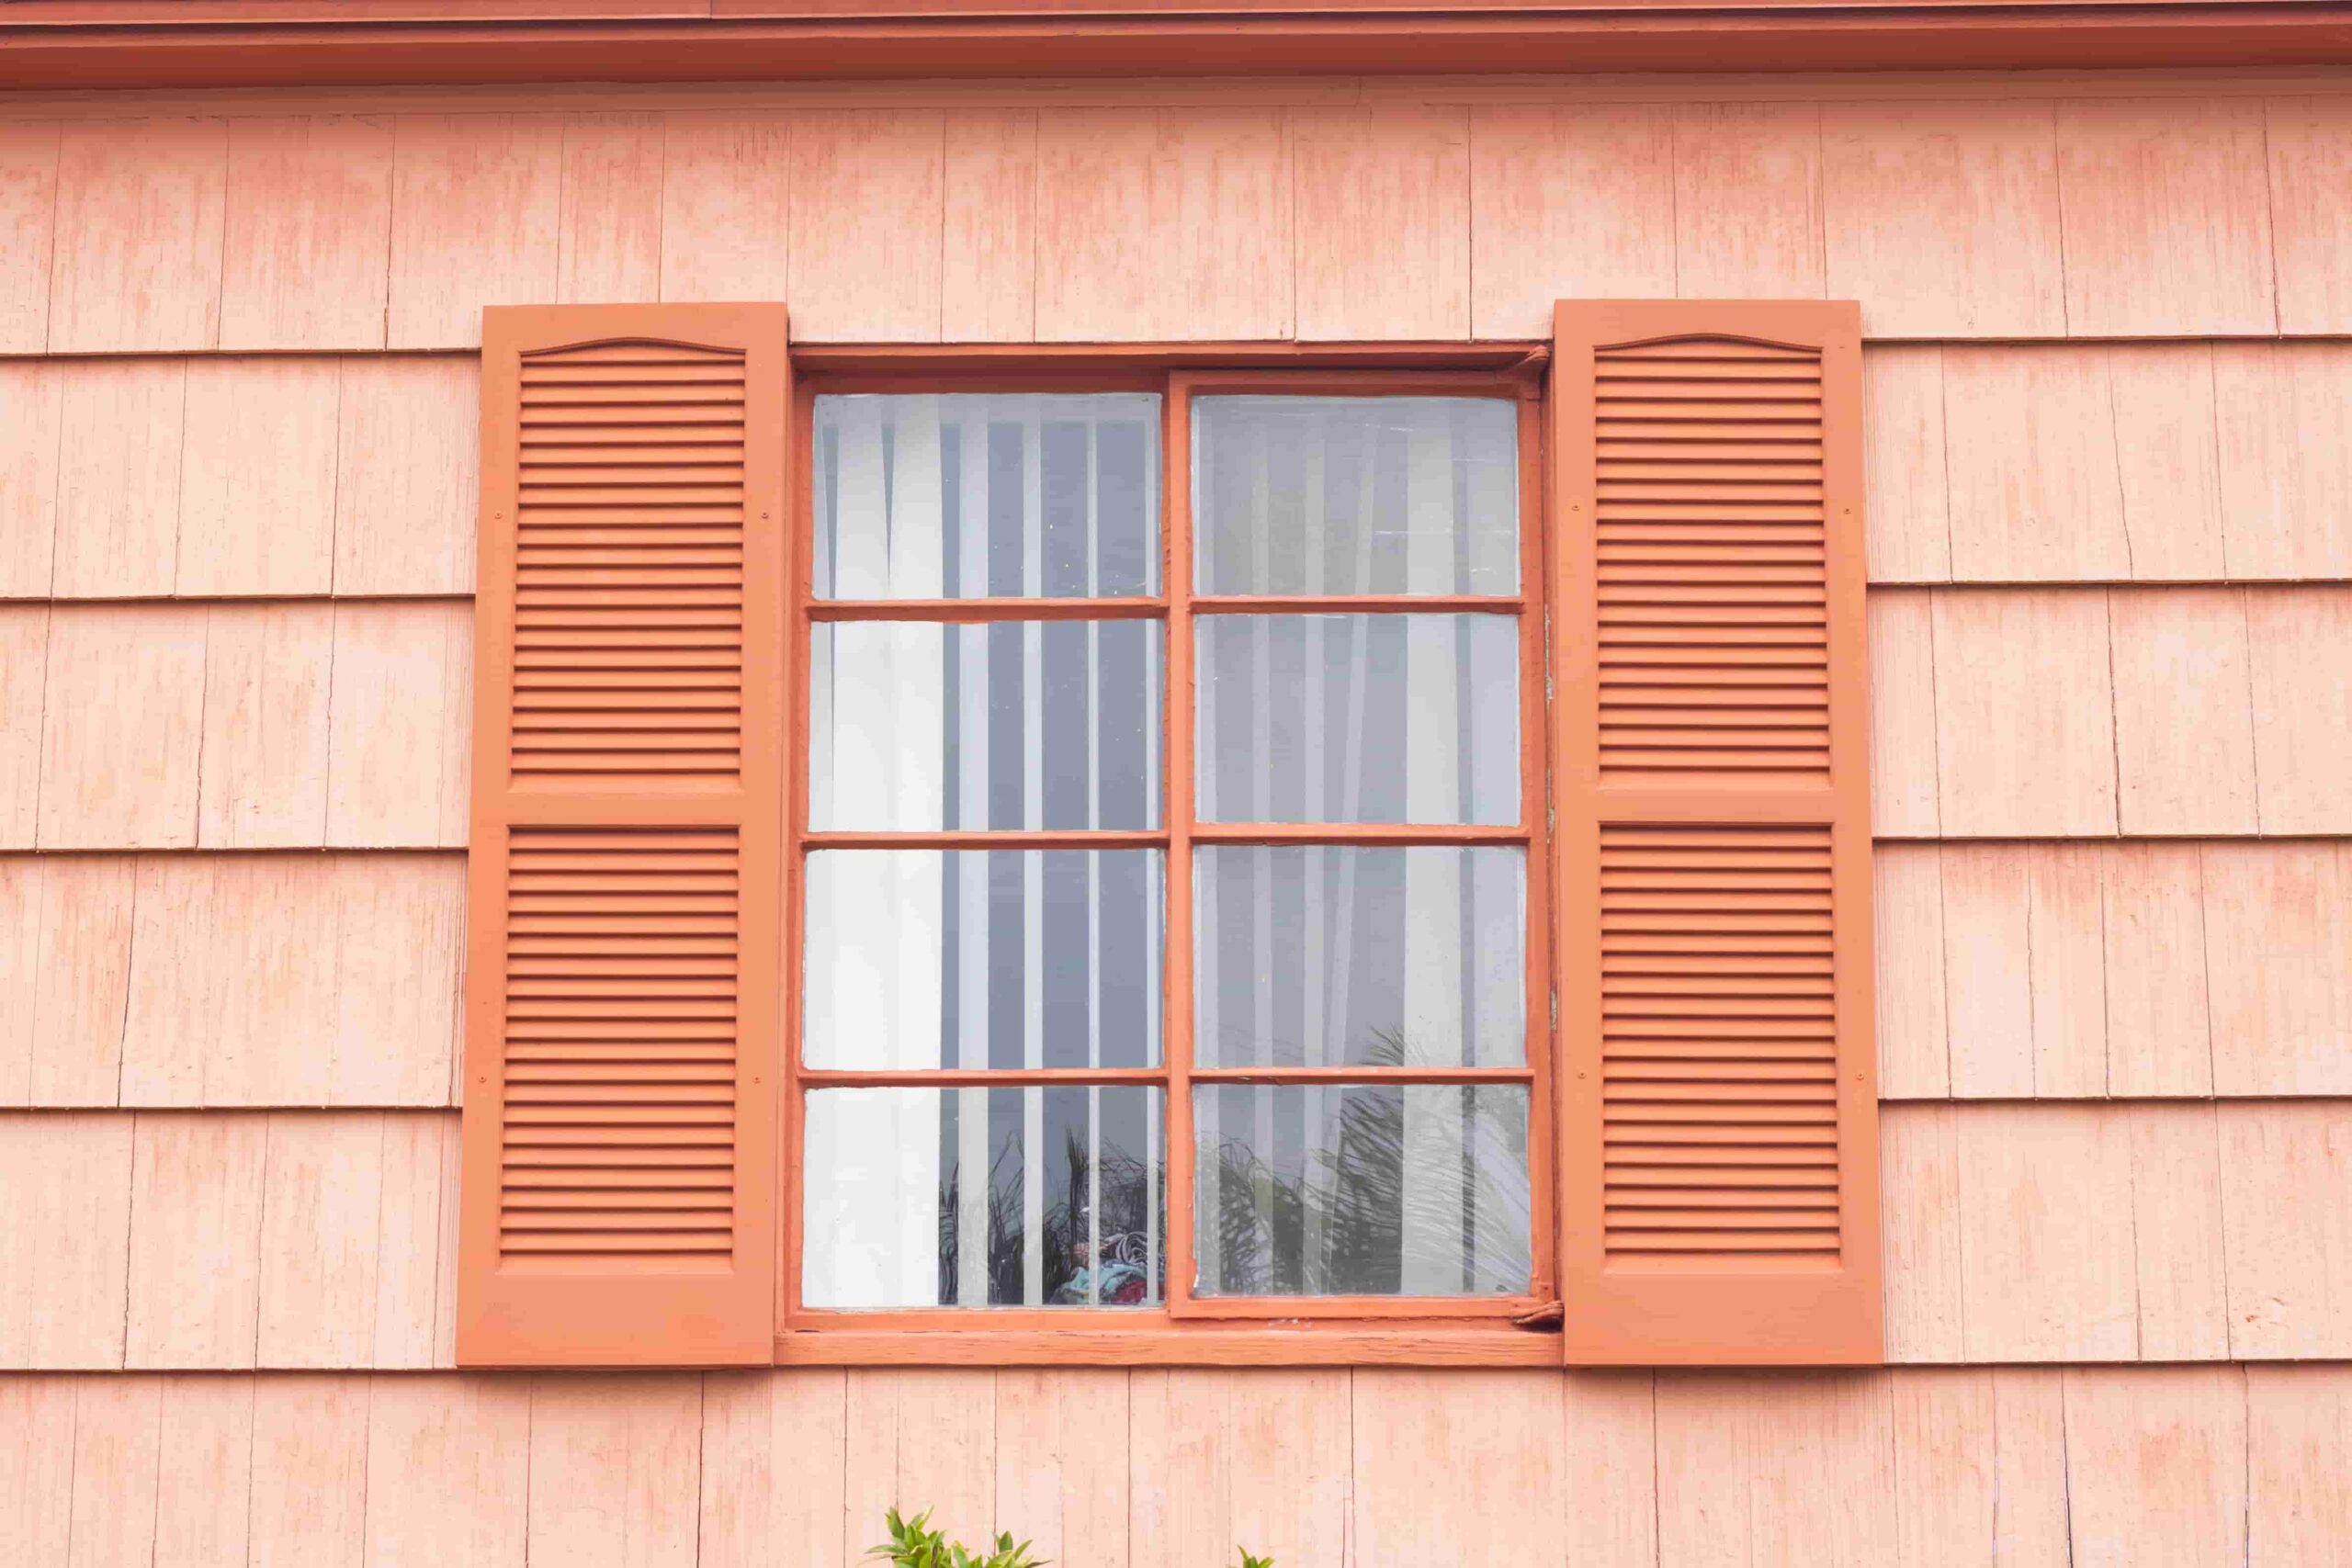
Cornice boards are a popular window treatment that can add style and elegance to any room. They are essentially wooden boxes that are mounted above windows to conceal curtain rods or blinds, giving a finished look to the window.
While there are many pre-made cornice boards available in the market, making your own wooden cornice boards allows you to customize them according to your specific window size, style, and color scheme. So, we will guide you through the steps on how to make wooden cornice boards for your windows.
Importance of cornice boards for windows
Before we begin, let’s understand why cornice boards are a popular choice for window treatments. Here are some of the benefits of using cornice boards for windows:
Cornice boards can add depth and character to your room by creating an architectural element above the window. Mounting the cornice board above the window can conceal the curtain rod or blinds, giving a clean and polished look to the window.
As mentioned earlier, making your own cornice boards allows you to customize them according to your preferences and needs. Making your own cornice boards can be a more cost-effective option compared to purchasing pre-made ones.
Materials Needed
Before we get started, make sure you have all the necessary materials to make your wooden cornice boards. Here’s a list of materials you will need:
- Wood (1×6 or 1×8) – for the top board and sides
- Pine trim molding – for decorative details
- Screws or nails – to secure the boards together
- Wood glue – for extra reinforcement
- Measuring tape
- Saw
- Sandpaper
- Paint or stain (optional)
1. Choosing the Wood
When it comes to selecting the wood for your cornice boards, it’s important to consider several factors. The type of wood you choose will significantly impact both the appearance and longevity of your cornice boards.
Pine is a common choice due to its affordability and ease of use. It’s soft, easy to cut, and sands smooth. Pine also takes well to paint and stain, allowing you to customize your cornice boards’ look. However, pine can dent and scratch easily, so it may not be the best choice if durability is a concern.
Oak is a harder wood, renowned for its strength and durability. Oak cornice boards are more resistant to dents and scratches, making them a great choice for high-traffic areas. The distinctive grain pattern of oak can add an elegant touch to your window treatments.
MDF (Medium Density Fiberboard) is another option. It’s an engineered wood product that’s dense, flat, and smooth. MDF is easy to cut and shape, making it a good choice for cornice boards with intricate designs. However, MDF can be heavy, and it’s not as strong as solid wood.
Once you’ve chosen your wood type, you’ll need to decide on the board’s size. A 1×6 or 1×8 board is typically sufficient for most windows, but you can adjust the size based on your window’s size and your design preferences.
Remember, the wood will need to be cut to size, so be sure to measure your window accurately to determine the appropriate length and width of your cornice boards.
2. Taking Measurements

Accurate measurements are crucial in creating perfectly fitted cornice boards. Begin by measuring the width of the window from the outside edges of the window casing. If there’s no window casing, measure the window and add at least 2 inches on both sides to account for overhang.
This will be the minimum width for your cornice board to ensure it adequately covers the window.
Next, decide on the desired height and depth of your cornice board. The height is mainly a matter of personal preference and the overall aesthetic you’re aiming for.
A typical height ranges from 10 to 20 inches. The depth of the cornice board should be enough to clear any window treatments, such as curtains or blinds, and window hardware. A depth of at least 4 inches is generally sufficient.
Record your measurements carefully, as they’ll be used to cut your chosen wood to the correct size for your cornice board. It’s recommended to double-check the measurements to avoid any costly mistakes before you begin the cutting process.
3. Cutting the Wood
Having taken precise measurements, the next step involves cutting the wood for your cornice board. Start with marking the cut lines on your selected wood board using a straight edge or a ruler. Ensure the lines are straight and clear; you might opt to use a pencil for easy adjustments if necessary.
Now you are ready to make the cuts. If you’re using a power saw, ensure you follow all safety guidelines; wear protective eyewear and gloves. Carefully cut along the marked lines. Double-check your measurements before each cut to minimize mistakes.
Remember, you’ll need to cut three pieces for each cornice board: the front (the width of your window plus the overhang) and two sides (the desired depth of your cornice board). Once the pieces are cut, line them up to ensure they fit together perfectly. If any piece is slightly off, a bit of sanding can usually correct small errors.
4. Assembling the Cornice Board

After all the pieces have been cut to the correct size, it’s time to assemble your cornice board. Place your front piece on a flat surface and align the side pieces to each end. Use wood glue along the edges of the boards where they join together. To secure the pieces while the glue dries, use a staple gun or nails.
For additional stability, consider adding L-brackets at the corners of the cornice board. This step is particularly crucial for larger cornice boards. Ensure the brackets are securely fastened with screws to create a sturdy frame.
Once the assembly is complete, give it time to dry fully. The drying time might vary depending on the adhesive you’ve used, so refer to the manufacturer’s instructions for accurate drying times.
Finally, check that your cornice board is robust and ready to be mounted. Ensure that the corners are square and the edges are flush. Any minor discrepancies can be addressed with sandpaper for a smooth, perfect finish.
Now your assembled cornice board is ready for painting or staining, and then hanging above your window.
5. Finishing Touches
After you’ve confirmed that your cornice board is sturdy and well-assembled, it’s time to add the finishing touches. If you prefer a natural wood look, consider applying a wood stain that complements your room’s decor.
Alternatively, painting the cornice board in a color that matches or contrasts with your room can also have a striking effect.
After the paint or stain has thoroughly dried, it’s time to add any desired embellishments. This could be anything from decorative nails to intricate wood carvings, depending on your personal style and room decor.
The final step is to secure your fabric. Choose a fabric that fits with your room aesthetic, cut it to the appropriate size, and staple it onto the board. Make sure to pull the fabric taut for a clean, professional look. Remember to fold the edges of the fabric to create a neat hem.
6. Mounting the Cornice Board
Mounting your cornice board is the final step in achieving your new window look. Start by measuring and marking the desired height on your wall where you’ll hang the board.
Ensure that the marks are level for a straight fit. Next, enlist the help of a friend or family member to hold the cornice board in place while you secure it.
Using a drill, install the brackets on the wall at the marked points. Make sure to use wall anchors if you’re not drilling into studs, to ensure a secure hold. Then, simply align the cornice board with the installed brackets and fasten it using screws. Check that the cornice board is firmly in place and level.
Congratulations! Your custom-made, personally styled cornice board is now adding an elegant touch to your room.
Related Topics:
Conclusion
In conclusion, adding a cornice board to your window is a simple and effective way to enhance the look of any room. With just a few materials and some creativity, you can create a custom-designed piece that complements your unique style and ties together your room’s decor.
Plus, by following these steps, you can achieve a professional-looking finish at a fraction of the cost of purchasing one. So why not give it a try and see the transformation for yourself? Happy decorating!
FAQs
Can I use any type of fabric for my cornice board?
Yes, you can use any type of fabric as long as it is sturdy enough to hold its shape and be stapled onto the board. However, heavier fabrics may require more support, such as thicker batting or a sturdier backing material.
What tools will I need to create a cornice board?
You will need a measuring tape, level, drill, brackets, screws, fabric, batting or backing material, and a staple gun. You may also want to have a saw on hand if you need to cut your board to size.
How long does it take to complete this DIY project?
The time it takes can vary depending on your level of experience and the complexity of your design. However, most cornice board projects can be completed in a few hours or less.
1 thought on “6 Steps To Make Wooden Cornice Boards For Windows”