Casement windows are popular residential window choices due to their airtight seal, energy efficiency, and sleek modern look. When a casement window needs to be removed, the process can seem intimidating. This guide will walk you through the steps necessary for the safe and successful removal of your casement window frame.
Tools You’ll Need
Before beginning any project involving window or door frames it is important to have the right tools on hand so you can complete the job safely and efficiently. Here is a list of tools that you will need:
• Hammer
• Putty knife
• Pry bar
• Screwdriver/ Drill driver with appropriate bits
• Caulk, sealant, and weather stripping
• Replacement window frame (optional)
5 Safety Measures:
1. Make sure to wear protective gloves and eye protection during the entire process for added safety.
2. Do not attempt to remove a casement window frame alone; have another person help you perform this job.
3. If necessary, use padding between your tools and the window frame to prevent any damage from occurring during the removal or installation of the new frame.
4. Carefully inspect the old window frame before disposing of it in order to make sure that no pieces are left behind or stuck in place which could cause injury or harm later on down the line.
5. Place a tarp or sheet underneath the work area when removing and/or installing a casement window frame as this will help catch any debris or dirt that is created.
Step 1: Removing the Window Sash
The first step to removing a casement frame is to remove the window sash. This will require you to open the window and then unscrew any screws that are holding it in place. Once these screws have been removed, carefully lift out the sash from the outside of the frame.
Depending on how old your windows are, you may need to use a putty knife or other tool to help pry it loose. It is important to be careful during this step so as not to break any glass or cause damage to the surrounding frame.
Step 2: Removing the Window Frame
Once the window sash has been removed, you can begin to remove the window frame itself. To do this, use a pry bar and carefully work it around the edges of the frame until it is loose. If there are any nails or screws holding in place, remove them with a screwdriver or hammer.
Once the frame is free from all attachments, be sure to store it somewhere safe for later reuse if desired.
Step 3: Removing Weather Stripping
The next step to removing a casement window frame is to remove any weather stripping that may be around its edges. This should be done by gently prying up on each side of the strip with either a putty knife or flathead screwdriver.
Work your way around the frame until all weather stripping is removed. Be sure to store it somewhere safe for later reuse if desired.
Step 4: Unscrewing Hinges
Once the weather stripping has been removed, the next step in how to remove a casement window frame is to unscrew any hinges that are holding it in place. This may take some patience, as you will want to make sure each hinge is properly unscrewed and not left behind on the frame itself.
Again, be sure to store these pieces in a safe spot where they will not get lost or damaged while you continue working on removing the window frame.
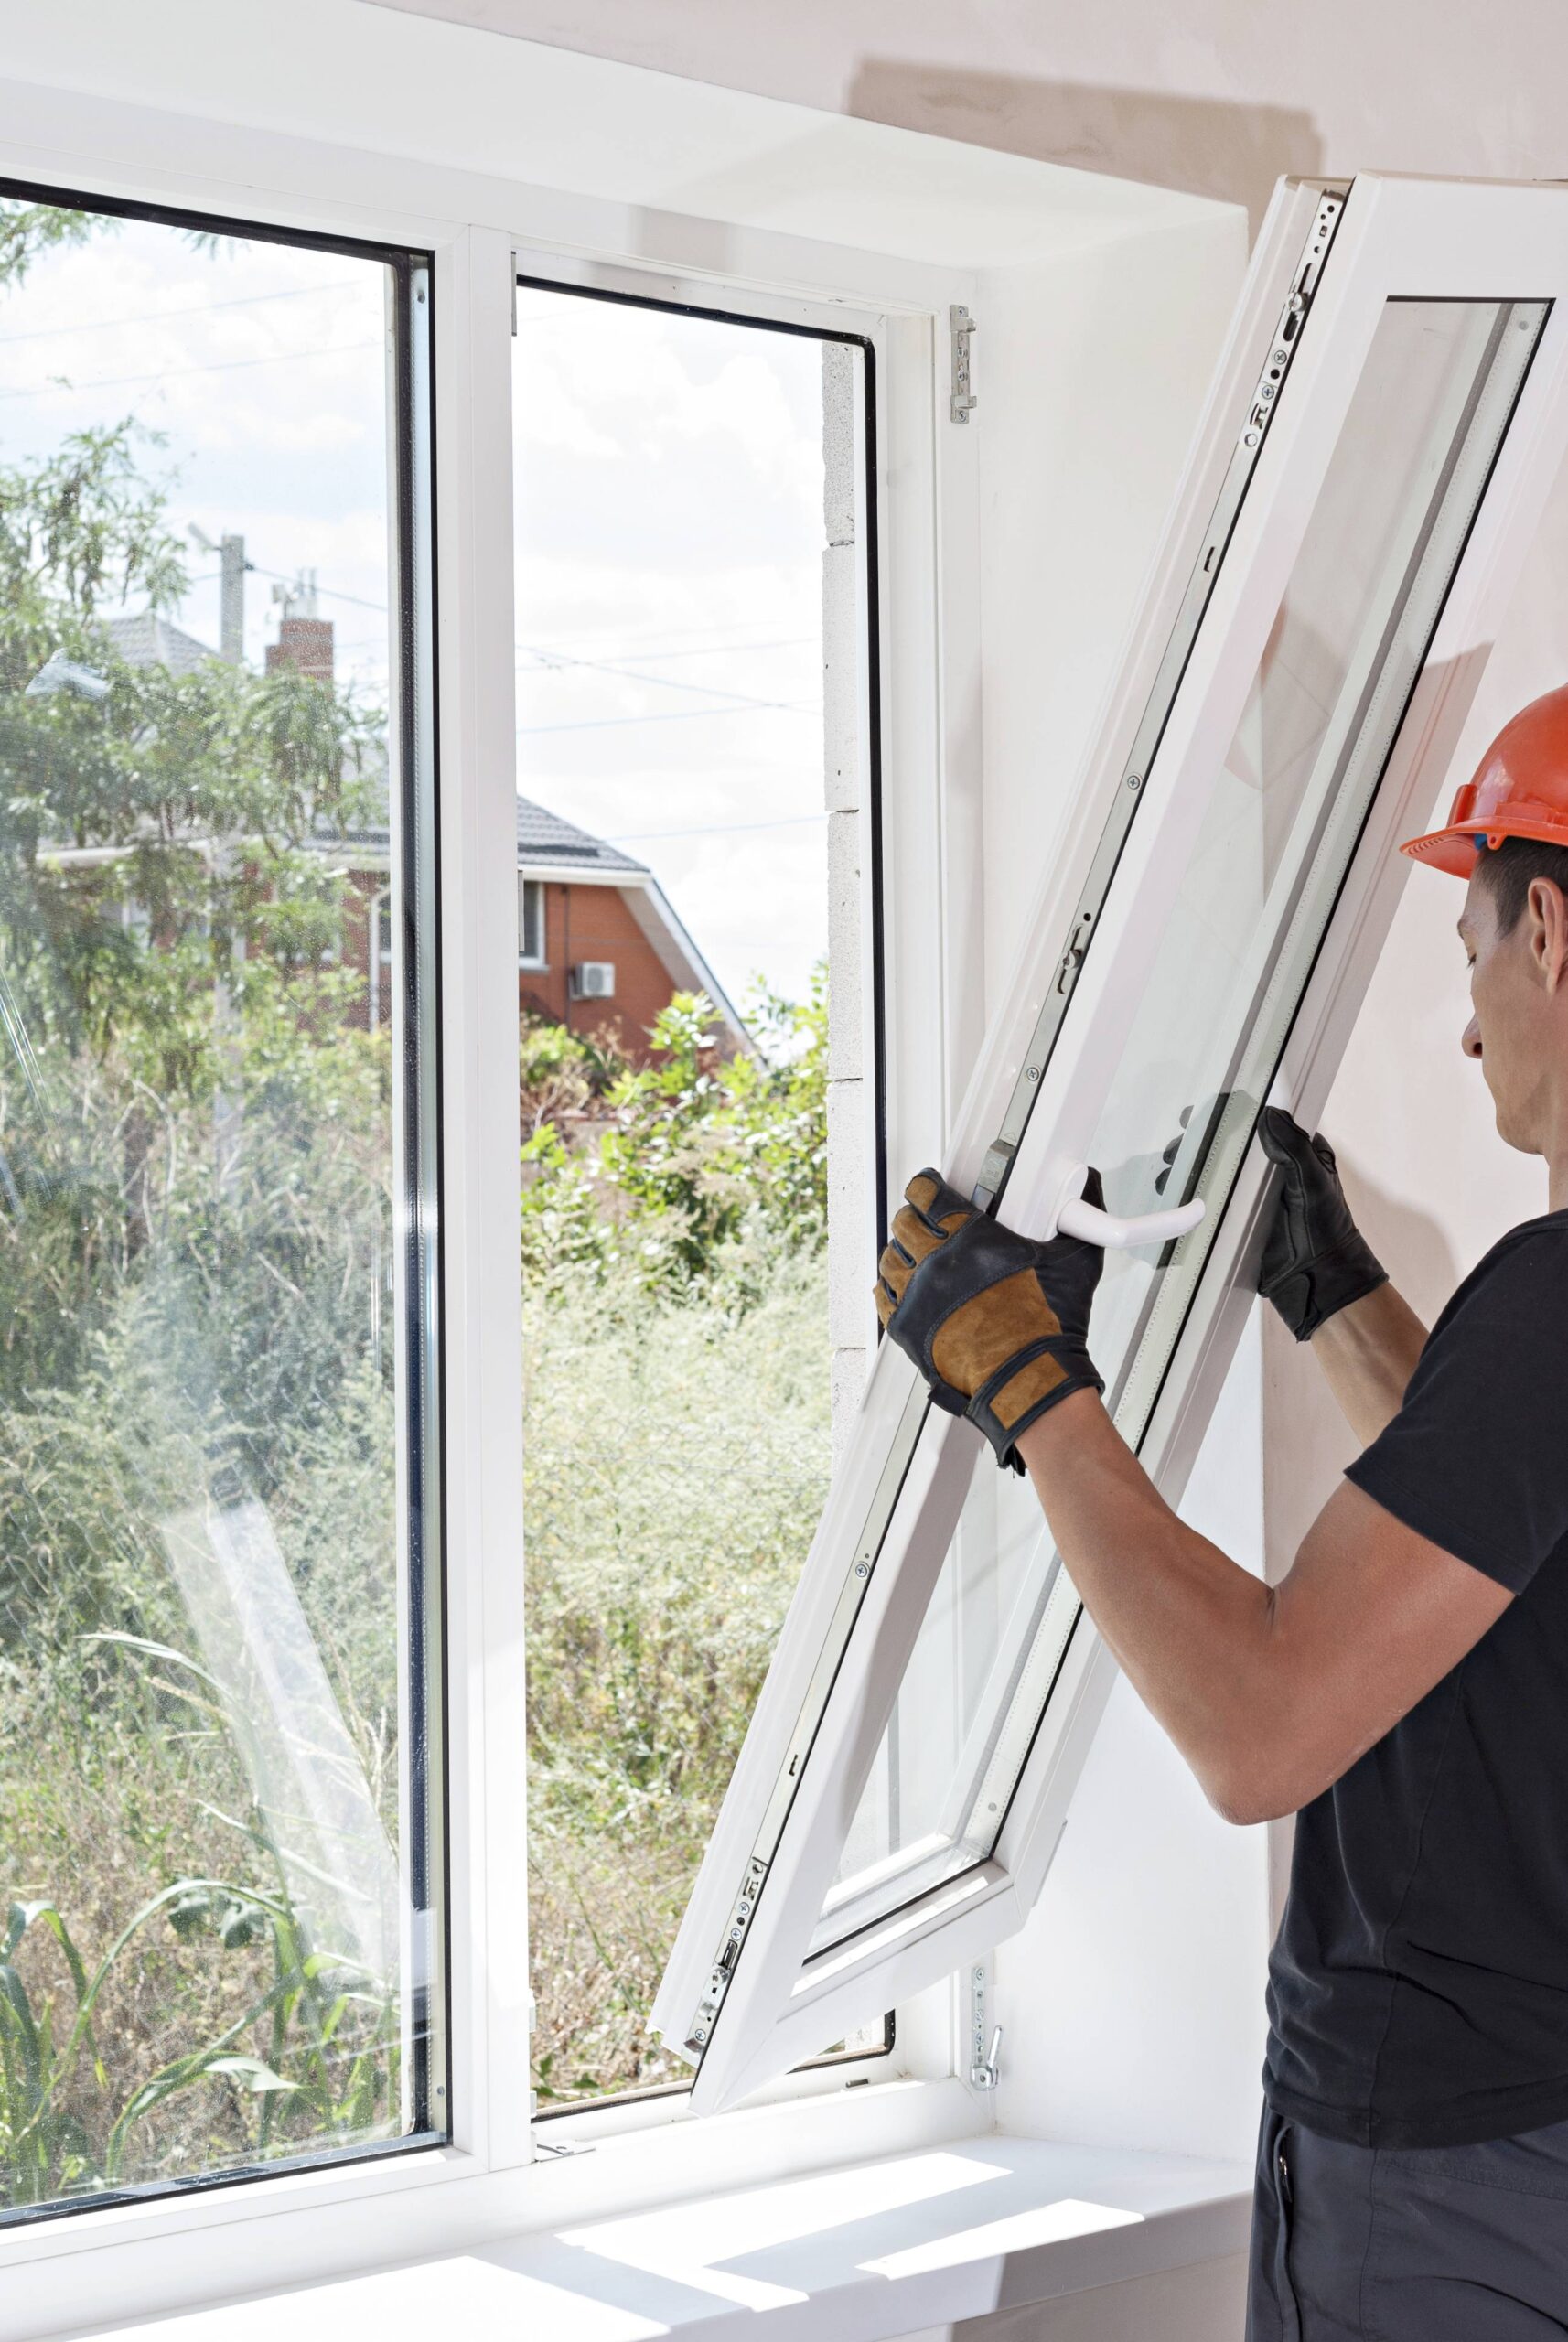
Step 5: Lifting Window Frame Out of Place
Now that the window frame is free from any screws or hinges, you should be able to lift it out of place with some effort. Be sure to take your time and not rush this step as you could damage the structure of the frame if done too quickly.
It may help to have a few extra hands around during this step in case some extra force is needed.
Step 6: Installing New Casement Window Frame
The final step in how to remove a casement window frame is to install a new one in its place. Before doing so, make sure that all measurements are correct according to the instructions provided by the manufacturer.
Once these measurements are double-checked and everything fits properly, begin securing the new window frame into place using screws or nails. Again, make sure not to rush this step too much as it is that the frame is securely in place before use.
Related Topics:
Conclusion
In summary, removing a casement window frame can be relatively simple if done with the right tools and steps. This has provided six easy-to-follow steps on how to go about doing so, from measuring the area’s dimensions to installing a new one in its place.
By following these instructions properly, no harm should be done and a successful removal of your old casement window frame should occur. Thank you for reading!
Best of luck!
FAQs
Q: How many tools do I need for this job?
The basic tools you will require are a level, a drill/driver, and either some screws or nails. Additionally, it is advisable to use a saw, hammer, and chisel as well.
Q: Is there an easier way of removing the frame than using screws/nails?
Unfortunately not; the only way to properly remove the frame is by unscrewing or nailing it out from its position and then setting up a new one in place.
Q: Are there any safety precautions I should take when doing this job?
A3: Yes – always make sure to wear protective gear such as safety goggles, gloves, and a dust mask. Additionally, it is important to use the correct tools for the job – avoid using power tools if you are inexperienced with them. When drilling and driving screws/nails into wood, be sure not to over-tighten them so that you don’t strip threads or cause unnecessary strain on the frame.
1 thought on “How To Remove A Casement Window Frame? 6 Steps”