Removing a casement window is a relatively straightforward job. However, it does require some knowledge of basic tools and safety precautions in order to do the job properly. Before starting the project, be sure to read through all instructions thoroughly and gather all necessary supplies.
Removing an old casement window and replacing it with a new one can be an easy job. However, if you don’t have the right tools or know-how, the job can become complicated quickly. Follow these steps to learn how to remove a casement window safely and efficiently.
Tools & Materials Needed:
- Flathead screwdriver
- Putty knife/Spatula
- Hammer & Nail
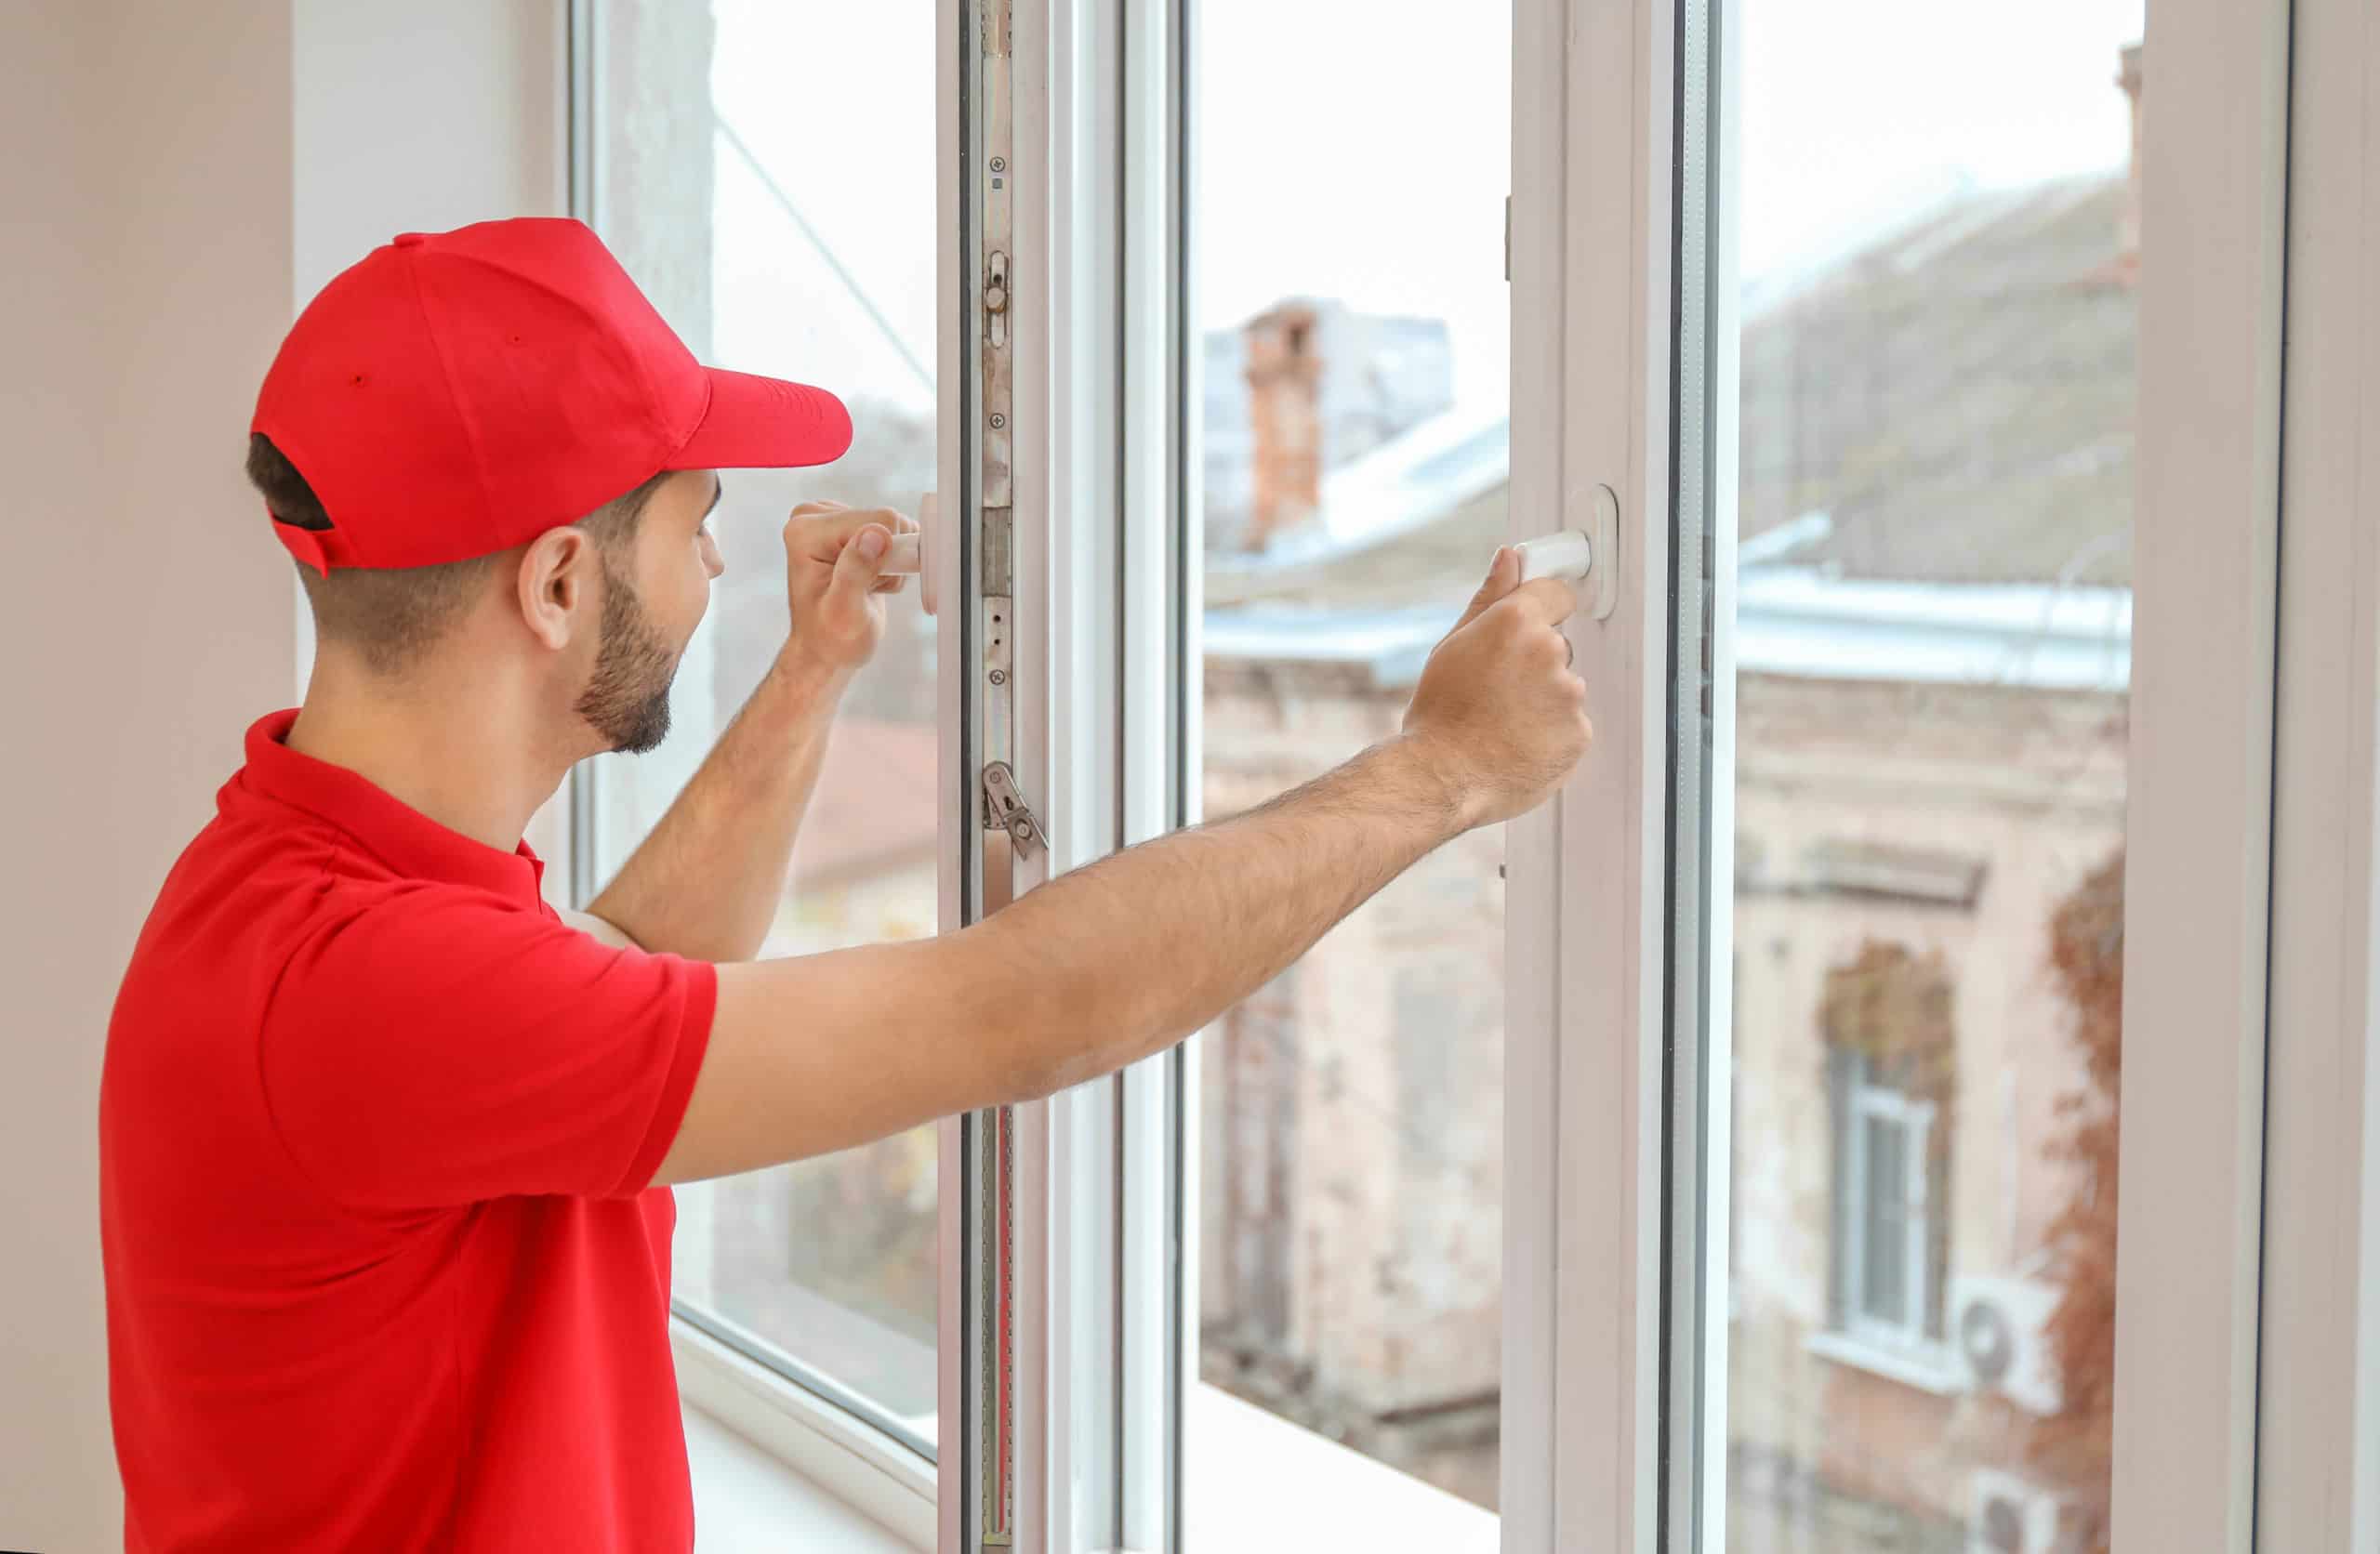
Step 1: Remove Interior Trim Pieces
Using your flathead screwdriver, carefully unscrew any trim pieces around the edges of the window frame that are holding it in place. Once the trim pieces are removed, use a putty knife or a spatula to carefully remove any paint, old caulking, and/or sealant around the edges of the window frame.
Step 2: Remove Hinge Pins
Once you’ve removed all the trim pieces, use your hammer and nail to tap out each hinge pin that is holding in the window frame. Once all the pins have been removed, you can now safely remove the window from its hinges.
Step 3: Unhinge & Lift Out Window Frame
Carefully unhinge each side of the window frame from its hinges one at a time. When removing each side be sure to lift slightly up as it will help loosen up any paint residue or dirt that may be stuck between the sash and frame. Once each side is lifted out, lift the window frame up and away from its opening.
Step 4: Clean Up
Carefully examine any parts of the window that may have gotten damaged during removal. If a part is beyond repair or too old for reuse, replace it. When you are finished with repairs/replacements, give all parts of the window a thorough cleaning to remove any dirt and dust before reinstalling.
Related Topic: How To Install A Casement Window? Complete Guide
What You Don’t?
While removing a casement window you should avoid using sharp objects. Be sure to also remove any decorations or furniture that may be blocking the window to prevent any damage during removal. Additionally, never use force when removing the window; if you are having difficulty, try using a lubricant.
How to Remove Screen from Casement Window?
To remove a screen from a casement window, locate and undo the screws or clips used to secure it in place. If you cannot find any screws or clips, then gently slide the frame up and out of its track.
Be careful not to bend or damage the frame as you do so. Once removed, clean off any dirt or debris from the screen prior to storing it in a safe place.
How To Remove the Window Pane?
Before attempting to remove the windowpane, make sure you have all of the necessary tools and materials for the job. You will need eye protection, gloves, a utility knife or box cutter, a hammer or screwdriver (depending on how your window is attached), caulking material, and replacement glass if needed.
Start by removing any trim pieces that are around the frame. Then use the utility knife or box cutter to score along the edge of the frame and carefully pry out any remaining nails or screws with a hammer or screwdriver.
Once all of these items have been removed, gently lift up each side of the frame and set it aside.
Next, carefully remove the old glazing material from the window frame using a utility knife or box cutter. Be sure to wear eye protection when doing this as shards of glass are very sharp.
Once all of the old material has been removed, use a vacuum cleaner to clean out any remaining dirt or debris from inside the frame.
Once the cleaning is complete, you are ready to install your new casement window. Begin by measuring the height and width of the frame opening and then select a window size that matches those measurements. Place the window into the frame and use construction glue or caulk to seal around it.
Then use screws or nails to secure it in place.
Finally, you will need to install the window hardware. For casement windows, this includes a crank handle and latch. Install these on the side or top of the window, depending on your preference.
Once all of the components are installed, your new casement window is ready for use! Enjoy the improved look and functionality that it provides for your home.
Conclusion
Removing a casement window can be quite an undertaking, but when done carefully and correctly, it’s not as difficult as it seems. With the proper tools, patience, and safety precautions in place removing a casement window should be easy enough for anyone to do themselves with incredible results.
You can now enjoy your newly opened space, with the knowledge that you were able to successfully remove your casement window on your own! Congratulations!
following these simple steps, you easily and safely remove your casement window without needing any outside help. Good luck and happy remodeling!
FAQs
Q: What kind of tools do I need to remove a casement window?
To successfully remove a casement window, you’ll need the following tools: a screwdriver, putty knife, or other flat tools for prying gloves, and safety glasses.
Q: How difficult is it to remove a casement window?
Removing a casement window is not a particularly difficult task. With the right tools and following the necessary steps, anyone can do it themselves.
Q: What should I do with my old casement window after removal?
After you’ve successfully removed your old casement window, you may choose to repurpose or resell the materials if they are in good condition. Otherwise, disposing of the materials in an environmentally friendly way is also an option.
2 thoughts on “How To Remove Casement Window Safely? (Guide)”