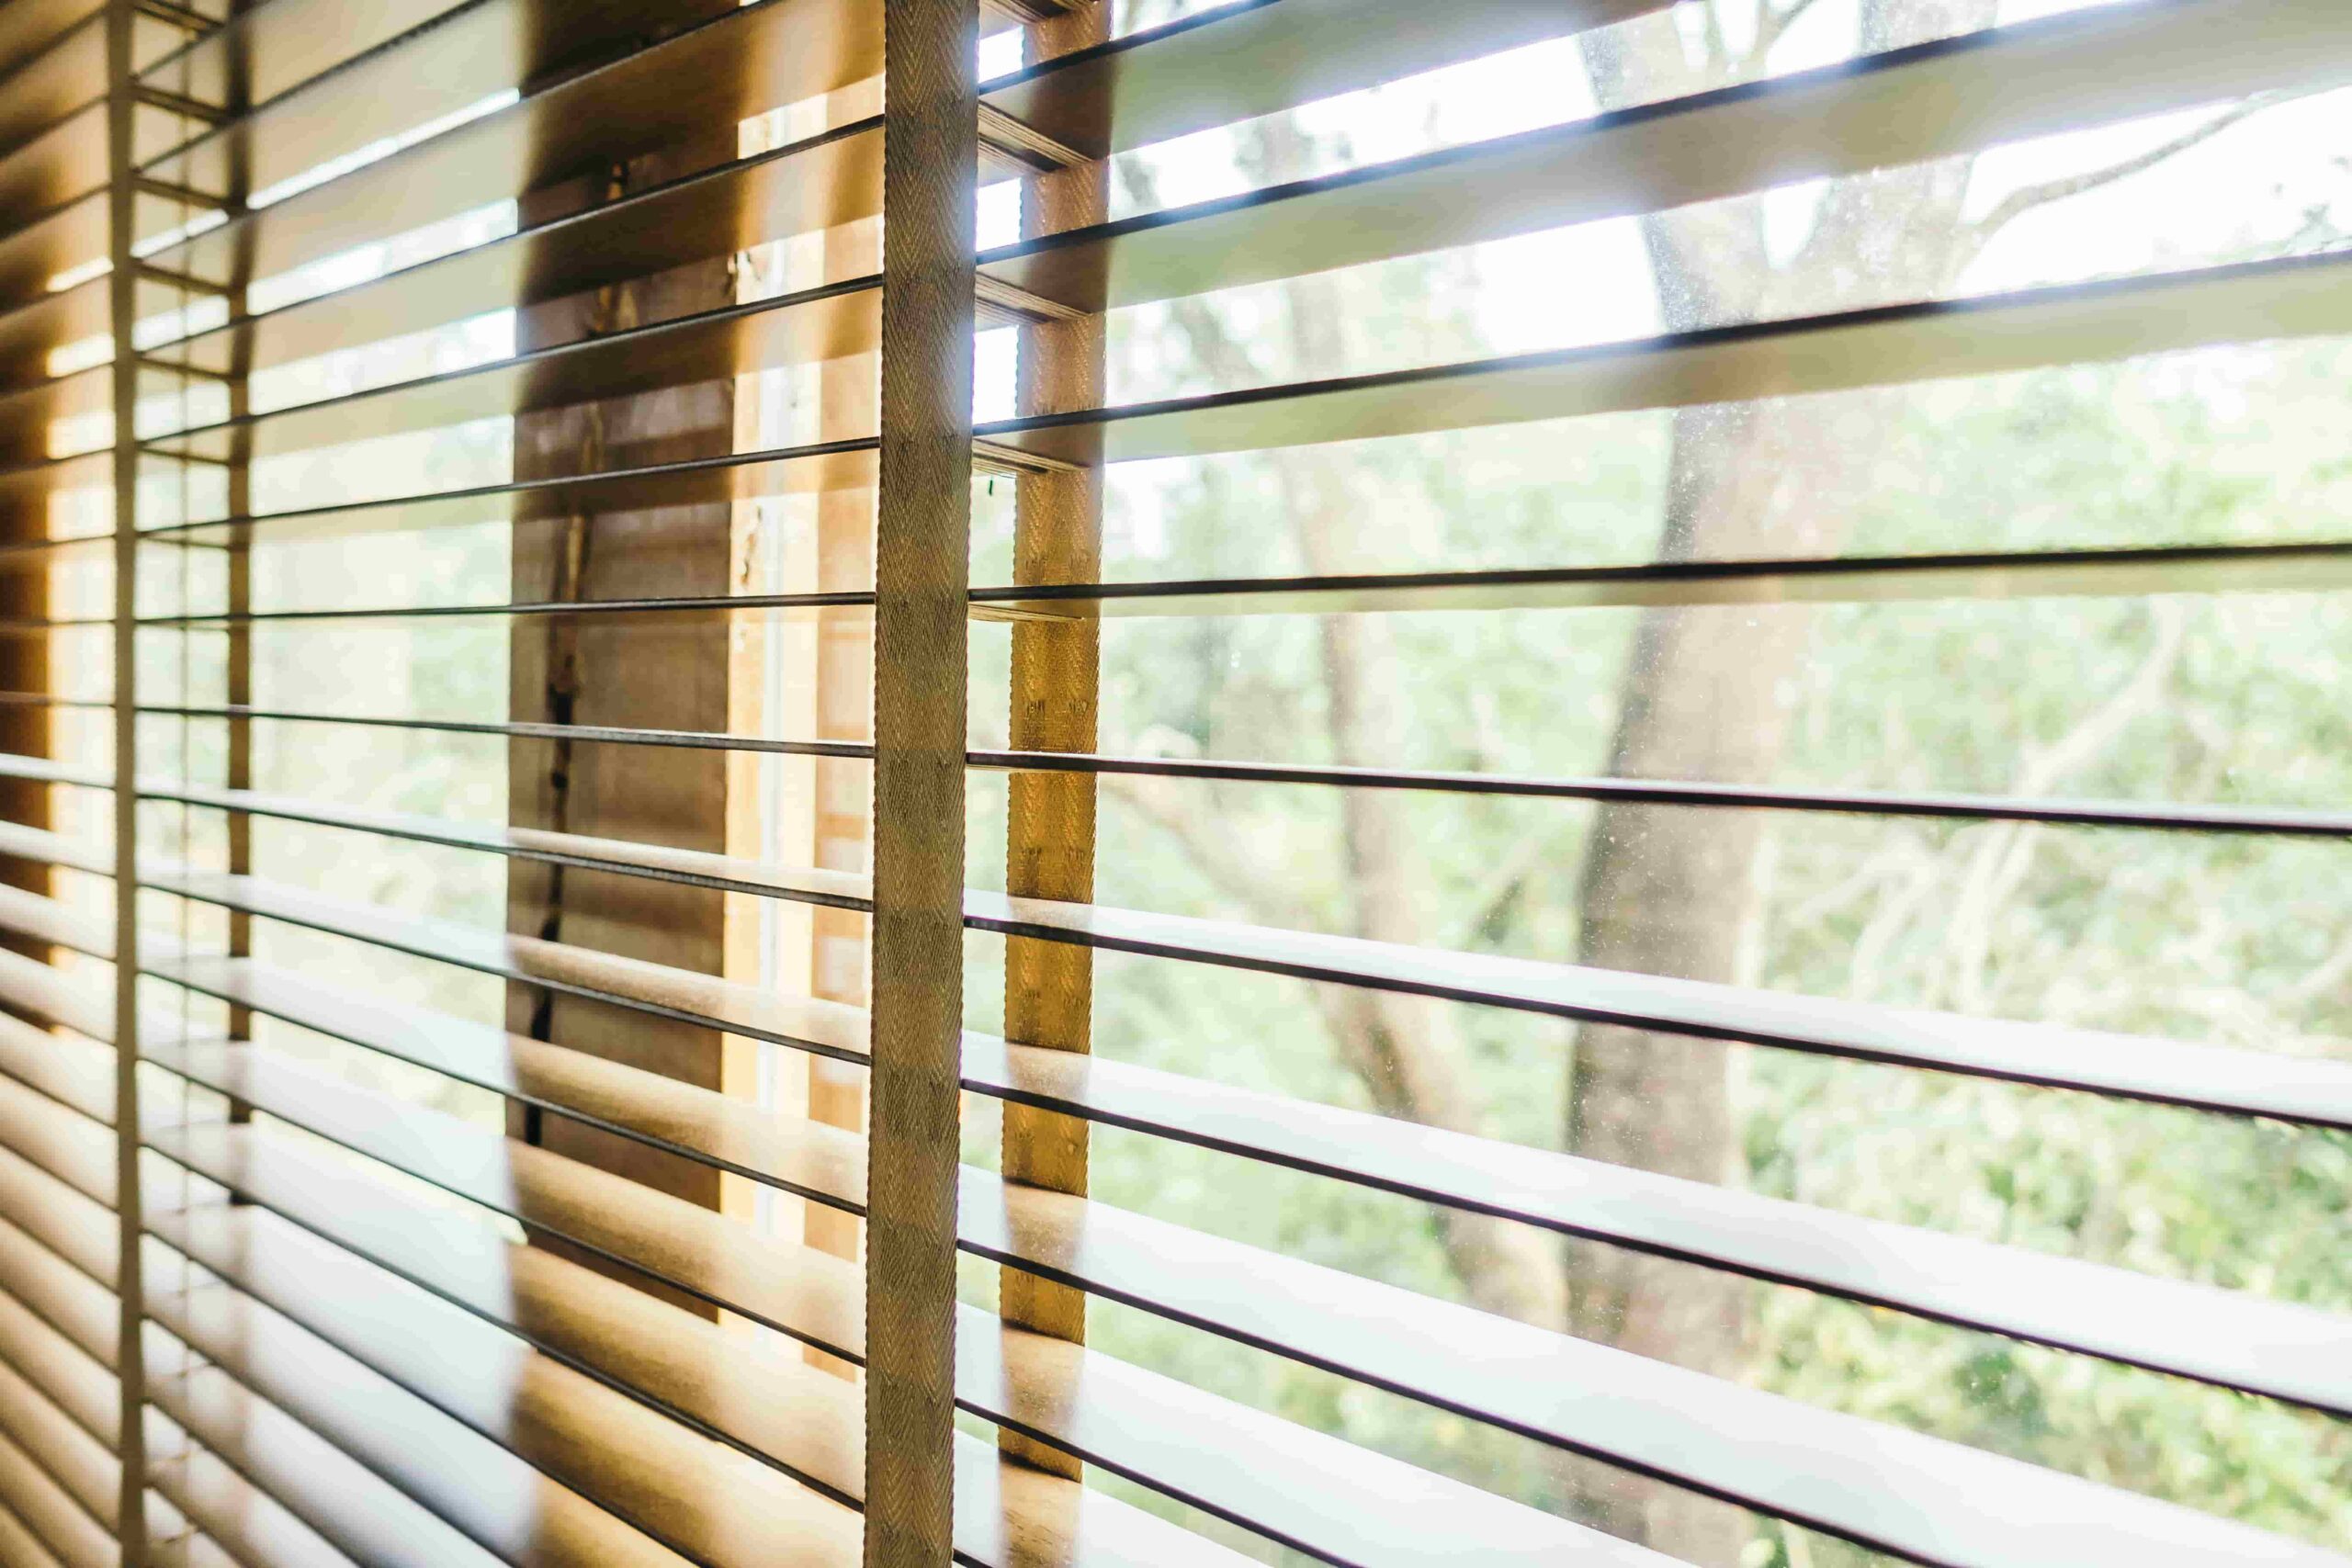
Wooden blinds not only add a touch of warmth and elegance to any room but also provide privacy from outside views. Installing wooden blinds is an easy DIY project that can be done with just a few tools and some basic knowledge.
In this guide, we will take you through the step-by-step process of how to install wooden blinds for your windows.
List of materials and tools required
- Wooden blinds
- Brackets
- Screws
- Screwdriver
- Measuring tape
- Pencil
Measurement
To ensure a perfect fit for your wooden blinds, accurate measurement of your windows is crucial. Begin by using a measuring tape to determine the width of the window at three points: the top, middle, and bottom. Record the smallest measurement out of the three, this will be the width of the blinds you need.
Next, measure the height of the window from the top inside edge to the bottom inside edge at three points: left, middle, and right. Similarly, record the smallest measurement.
Always remember to measure twice to avoid any errors. These measurements will help you get blinds that fit perfectly inside your window frame.
Purchasing the Blinds
After taking accurate measurements of your window, the next step is to purchase your wooden blinds. You can find a variety of wooden blinds in home improvement stores, online marketplaces, or specialty blind stores. Make sure to have your measurements handy while shopping.
Remember to look for blinds that match your window’s width and height measurements taken previously. Additionally, consider the color and style of the blinds, ensuring they complement your room decor.
It is also worth checking the package to ensure it includes installation hardware such as brackets and screws. If these are not included, you will need to purchase them separately.
Preparation
After purchasing the wooden blinds, the next crucial step is to unpack them. Carefully remove the blinds from the packaging to prevent any damage. Lay out all the parts on a clean, flat surface like a table or the floor. This should include the wooden blinds, brackets, screws, and any other parts that come with the package.
Inspect each part to ensure they are in good condition. Check the blinds for any signs of damage such as cracks or splits in the wood. Ensure the brackets are sturdy and the screws are the correct size. Additionally, verify that all necessary components are included as per the list on the package.
Take this opportunity to familiarize yourself with each part. Understanding how they fit together will make the installation process smoother. If any parts are missing or damaged, contact the store or manufacturer immediately for replacements.
It’s important to sort out any issues at this stage before beginning the installation process.
Before installing the wooden blinds, it’s essential to prepare the window area. Start by removing any existing curtains or shades and thoroughly clean the window frame. This will ensure a smooth surface for installation and prevent any dirt or dust from getting trapped between the blind and the frame.
Next, measure the distance between each bracket placement. Typically, there should be three brackets evenly spaced across the width of the window. Use a measuring tape to get accurate measurements and mark where the brackets will go with a pencil.
Installation Process
Step-by-Step Instructions for Mounting the Brackets
Start with the left bracket: Hold the bracket up to the marked spot, making sure it’s level. Use a pencil to mark where the screws will go into the wall.
Pre-drill the holes: Use a drill bit that’s slightly smaller than the screws. Carefully drill holes where you’ve marked for the screws, taking care not to drill too deeply.
Attach the bracket: Hold up the bracket and line up the holes with the pre-drilled holes. Insert the screws and tighten them with a screwdriver or a drill with a screwdriver bit. Don’t over-tighten as this can strip the screws or damage the wall.
Repeat for other brackets: Follow the same process for the remaining brackets. Be sure to check that each bracket is level before drilling the holes and attaching the bracket.
Check the alignment: Once all brackets are mounted, it’s crucial to check their alignment. Use the level to make sure the brackets are straight. This will ensure your blinds hang properly. If any brackets are not level, adjust as necessary.
Hanging the Blind
Position the blind: Carefully lift the blinds up to your mounted brackets. Most blinds will have a grooved rail at the top that fits into the brackets. Place this groove into each bracket, ensuring that it’s secure in each one.
Secure the blind: Each bracket should have a mechanism that locks the blind into place. Depending on the type of blinds, this could be a door that snaps shut or a clip that slides in place. Make sure each bracket is securely fastened to prevent the blinds from falling.
Adjusting the Length
Lower the blinds: Pull the cord to lower the blinds to their full length. This will give you an idea of how much you need to adjust them.
Measure the desired length: Decide where you want the bottom of your blinds to hang and measure the distance from the top of the blinds to this spot. This is the length you’ll adjust your blinds to.
Remove excess slats: If your blinds are too long, you may need to remove some slats. To do this, fully extend the blinds, untie the string at the bottom, and slide out the excess slats carefully.
Re-tie the bottom: Once you’ve achieved the desired length, rest the bottom bar and tie it securely. Make sure the blind moves up and down smoothly.
Check the length: Raise and lower the blinds to ensure they’re at the correct length and operate smoothly. Make any necessary adjustments.
Attaching the Valance
Understand the purpose: A valance is not just a decorative element in your blinds setup; it also hides the mounting hardware, providing a sleek, finished look. Make sure you have the correct valance that matches your blinds.
Prepare the valance clips: Your blinds should come with valance clips. These clips attach to the headrail and hold the valance in place. Make sure you have enough clips—usually one for each end and one for the middle if the blinds are wider.
Attach the valance clips: Clip the valance clips onto the headrail before you attach the valance. They should easily snap onto the headrail without requiring much force.
Install the valance: Once the clips are in place, align the valance with the clips. The edge of the valance should easily slide into the clips. Push the valance into the clips until it clicks into place.
Check the installation: Ensure the valance is secure and evenly aligned with the blinds. If necessary, adjust the clips or the valance until the setup looks balanced and neat. Once it’s correctly installed, the valance will enhance the overall look of your blinds and add a professional finish to your installation.
Adjustments and Troubleshooting
Slats won’t tilt: If your slats won’t tilt properly, it could be due to a problem with the tilt mechanism. Try gently rotating the tilt wand or cord. If the slats still don’t move, you may need to replace the tilt mechanism.
Blinds won’t raise or lower evenly: If your blinds won’t raise or lower evenly, the lift cords could be tangled or uneven. Try gently pulling the cords to untangle them. If they remain uneven, you may need to adjust the cord lock.
Loose or sagging slats: If your slats are loose, the ladder strings might be worn out or the slats aren’t properly secured in the clips. Check the condition of the strings and the placement of the slats. If necessary, replace the strings or reposition the slats.
Blinds won’t fit in window: If your blinds don’t fit within your window frame, check your measurements. Different styles of blinds require different types of inside or outside mounting, and this can affect the measurements.
Damaged or bent slats: If your slats are damaged or bent, they can usually be replaced individually without needing to replace the entire set of blinds. Ensure you have spare slats that match your blinds.
Valance doesn’t fit or stay in place: If your valance doesn’t fit or stay in place, check the clips. They may not be correctly installed or may be damaged. Make the necessary adjustments or replacements.
Related Topics:
Maintenance and Cleaning
Regular maintenance and cleaning of your blinds can extend their lifespan and maintain their appearance.
Dusting: Use a microfiber cloth or a vacuum with a brush attachment to dust the blinds regularly. Always dust in the direction of the slats, not against them.
Deep Cleaning: For a deeper clean, gently wipe the slats with a damp cloth. Use a mild dish soap for stubborn stains, but avoid using harsh chemicals as they can discolor the slats.
Check for Wear and Tear: Regularly inspect your blinds for signs of wear and tear. This includes frayed cords, broken slats, or damaged tilt mechanisms. If you identify any issues, address them promptly to prevent further damage.
Lubricate the Mechanisms: To ensure continued smooth operation, occasionally lubricate the tilt mechanism and cord lock with a silicone spray. Avoid using oil-based lubricants as they can attract dust.
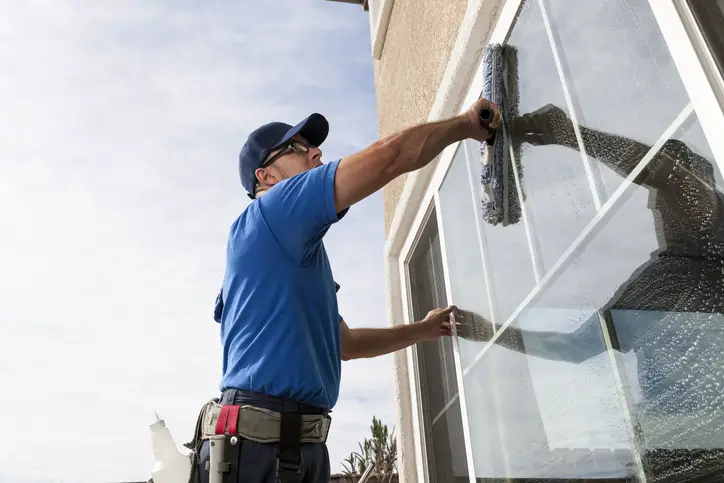
Professional Cleaning: For blinds made of delicate materials or for particularly stubborn stains, consider hiring a professional cleaning service. They have the tools and knowledge to clean your blinds without causing damage.
Conclusion
Proper care and maintenance of your blinds not only guarantees a clean, attractive appearance but also prolongs their durability. Regular dusting, occasional deep cleaning, consistent checks for wear and tear, lubrication of mechanisms, and the consideration of professional cleaning services for delicate materials are all crucial steps.
By following these guidelines, you can significantly extend the lifespan of your blinds, ultimately saving money and maintaining the aesthetic appeal of your space.
FAQs
How often should I dust my blinds?
It is recommended to dust blinds at least once a week to prevent the buildup of dirt and grime.
Can I use harsh chemicals to clean my blinds?
No, it is best to avoid using harsh chemicals as they can damage or discolor the slats of your blinds.
What should I do if my blinds are damaged?
Promptly address any signs of wear and tear, such as frayed cords or broken slats, to prevent further damage. If necessary, seek professional repair services.
1 thought on “How To Install Wooden Blinds For Windows: (Guide)”